When life gives you apples…

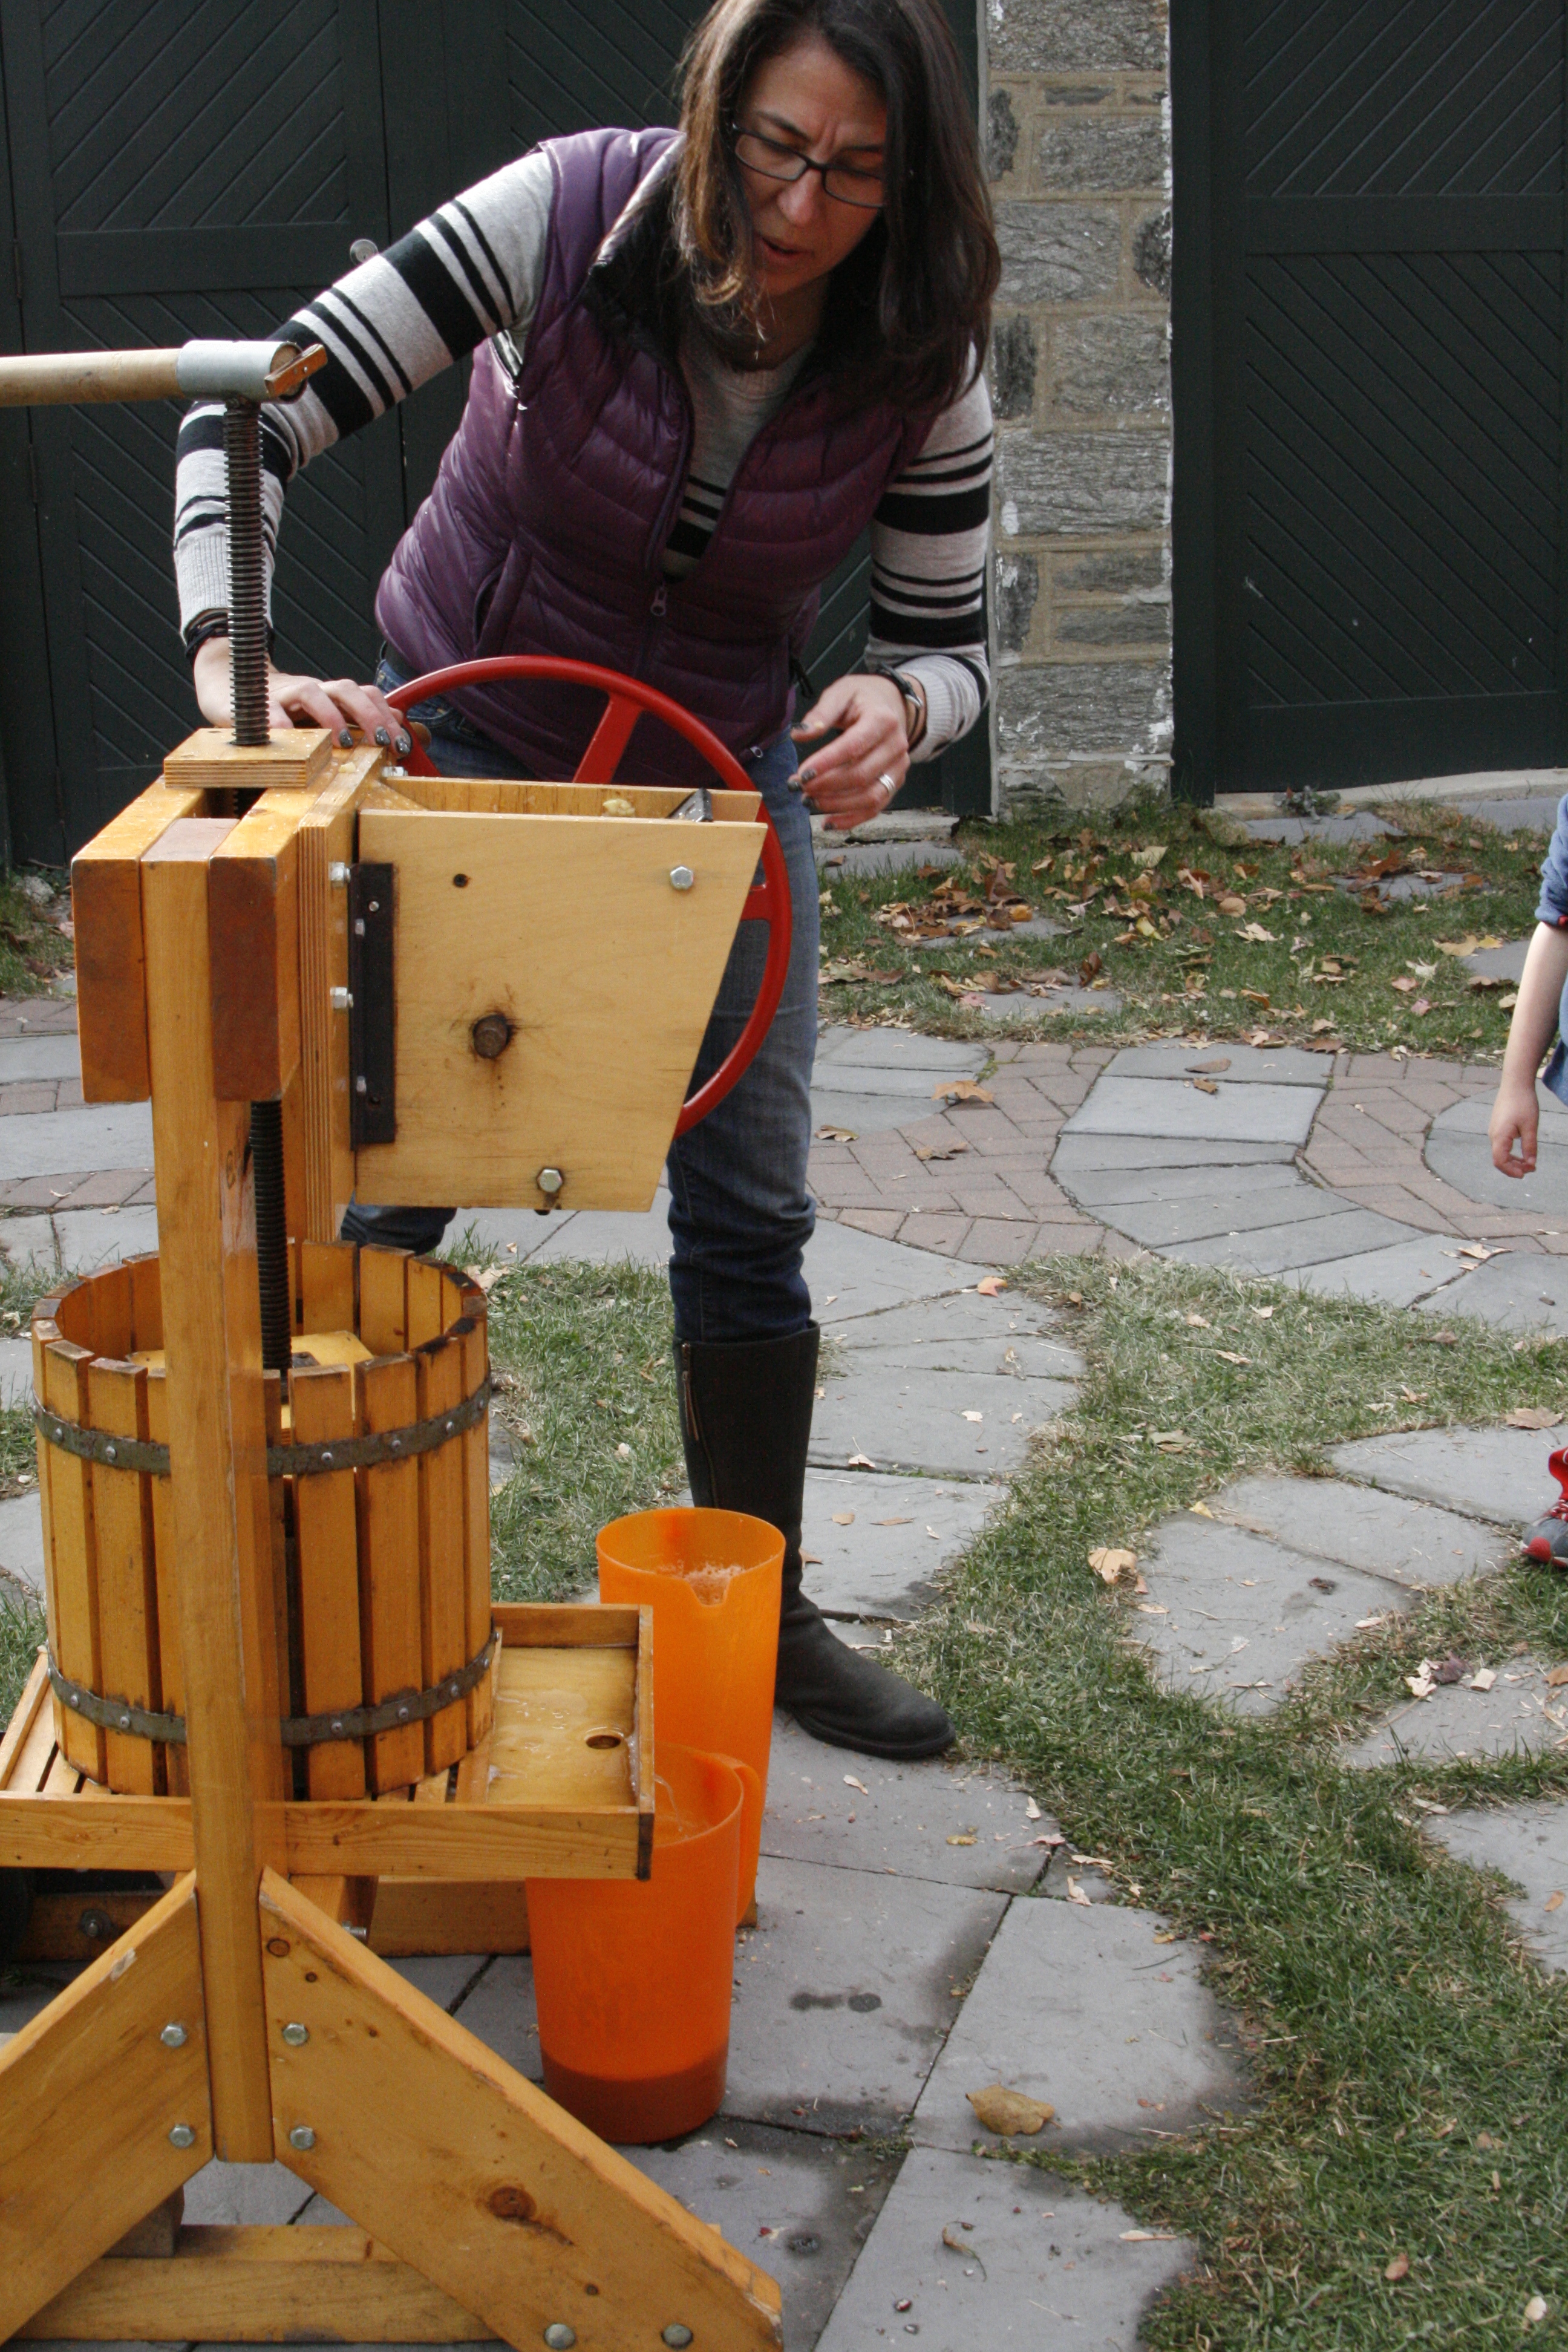
Over a decade ago I thought it was a great idea to get a cider press. We had moved from the city of San Francisco to a bucolic piece of land just outside Philadelphia (literally less than a mile from the border) and in addition to some beautiful (and sometimes dangerous) black walnut trees, we inherited an apple tree. I thought pressing cider would be a great thing to do with kids, so, after some internet research, I found this company and ordered a kit online. Now that I look back, I can’t imagine when I found the time to varnish and assemble it with two little kids running around, but I think I must have snuck out to the garage during nap times with the baby monitor. This is what it looks like set up.

._MG_4895  IMG_4775

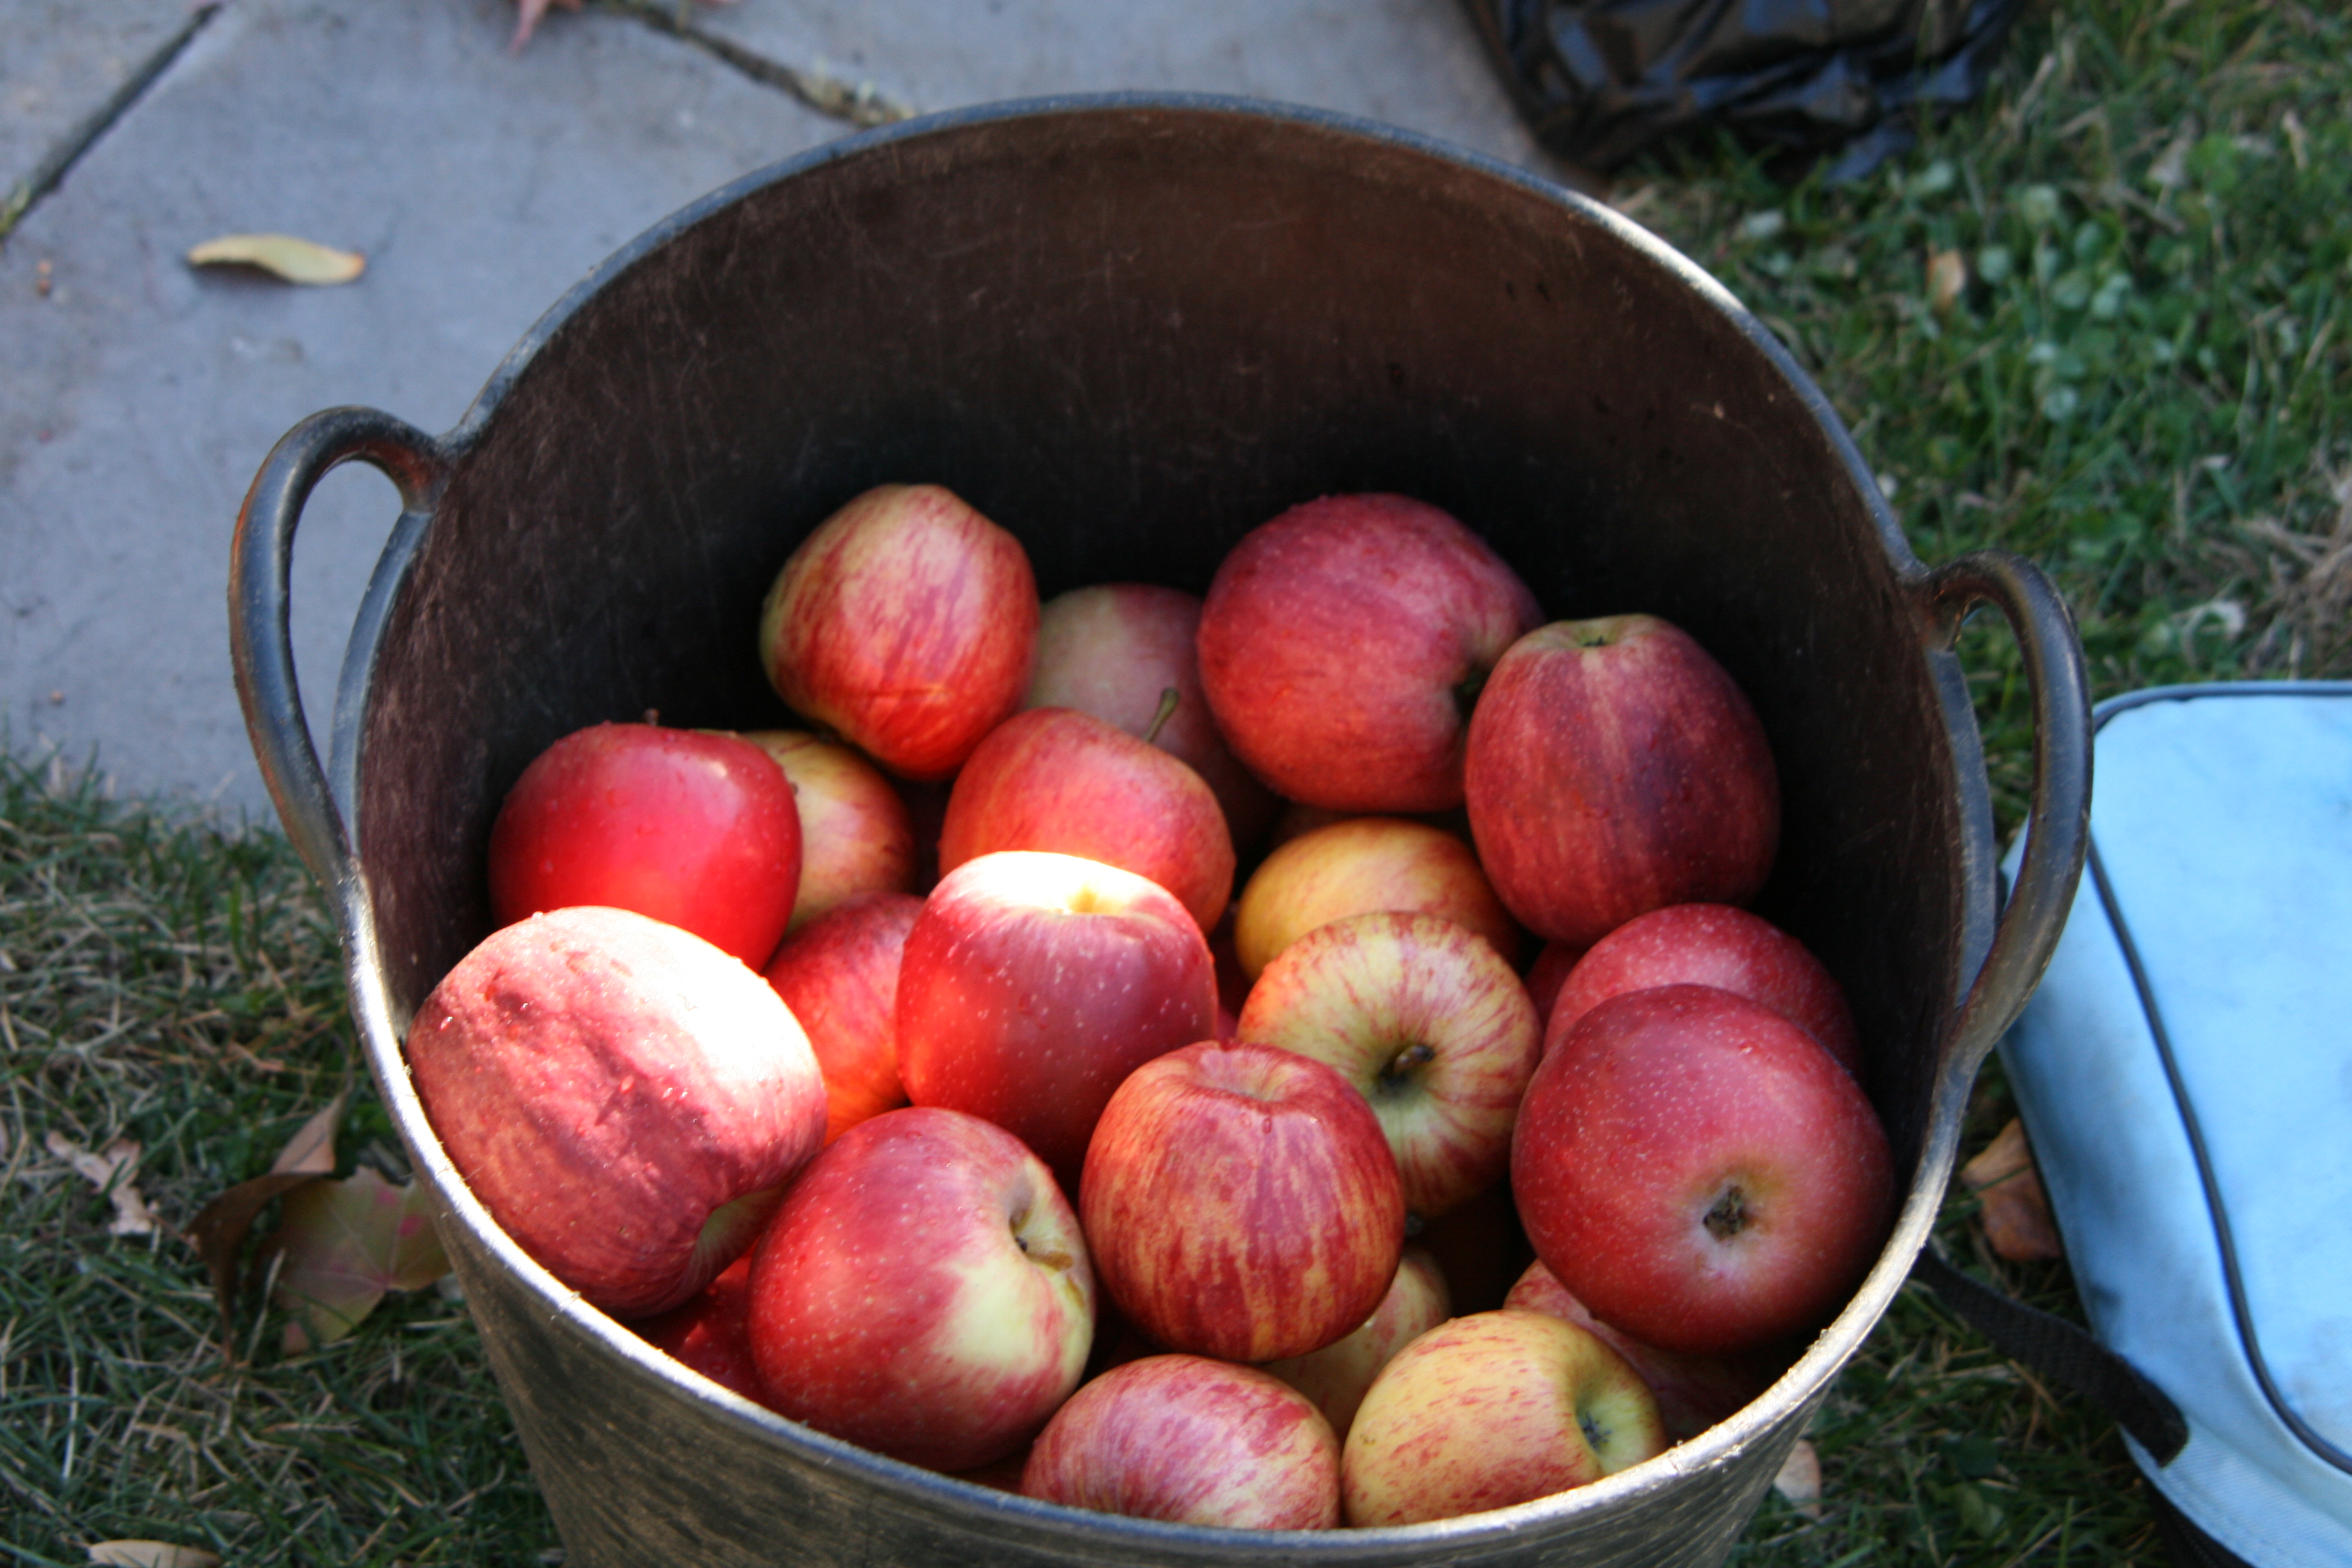
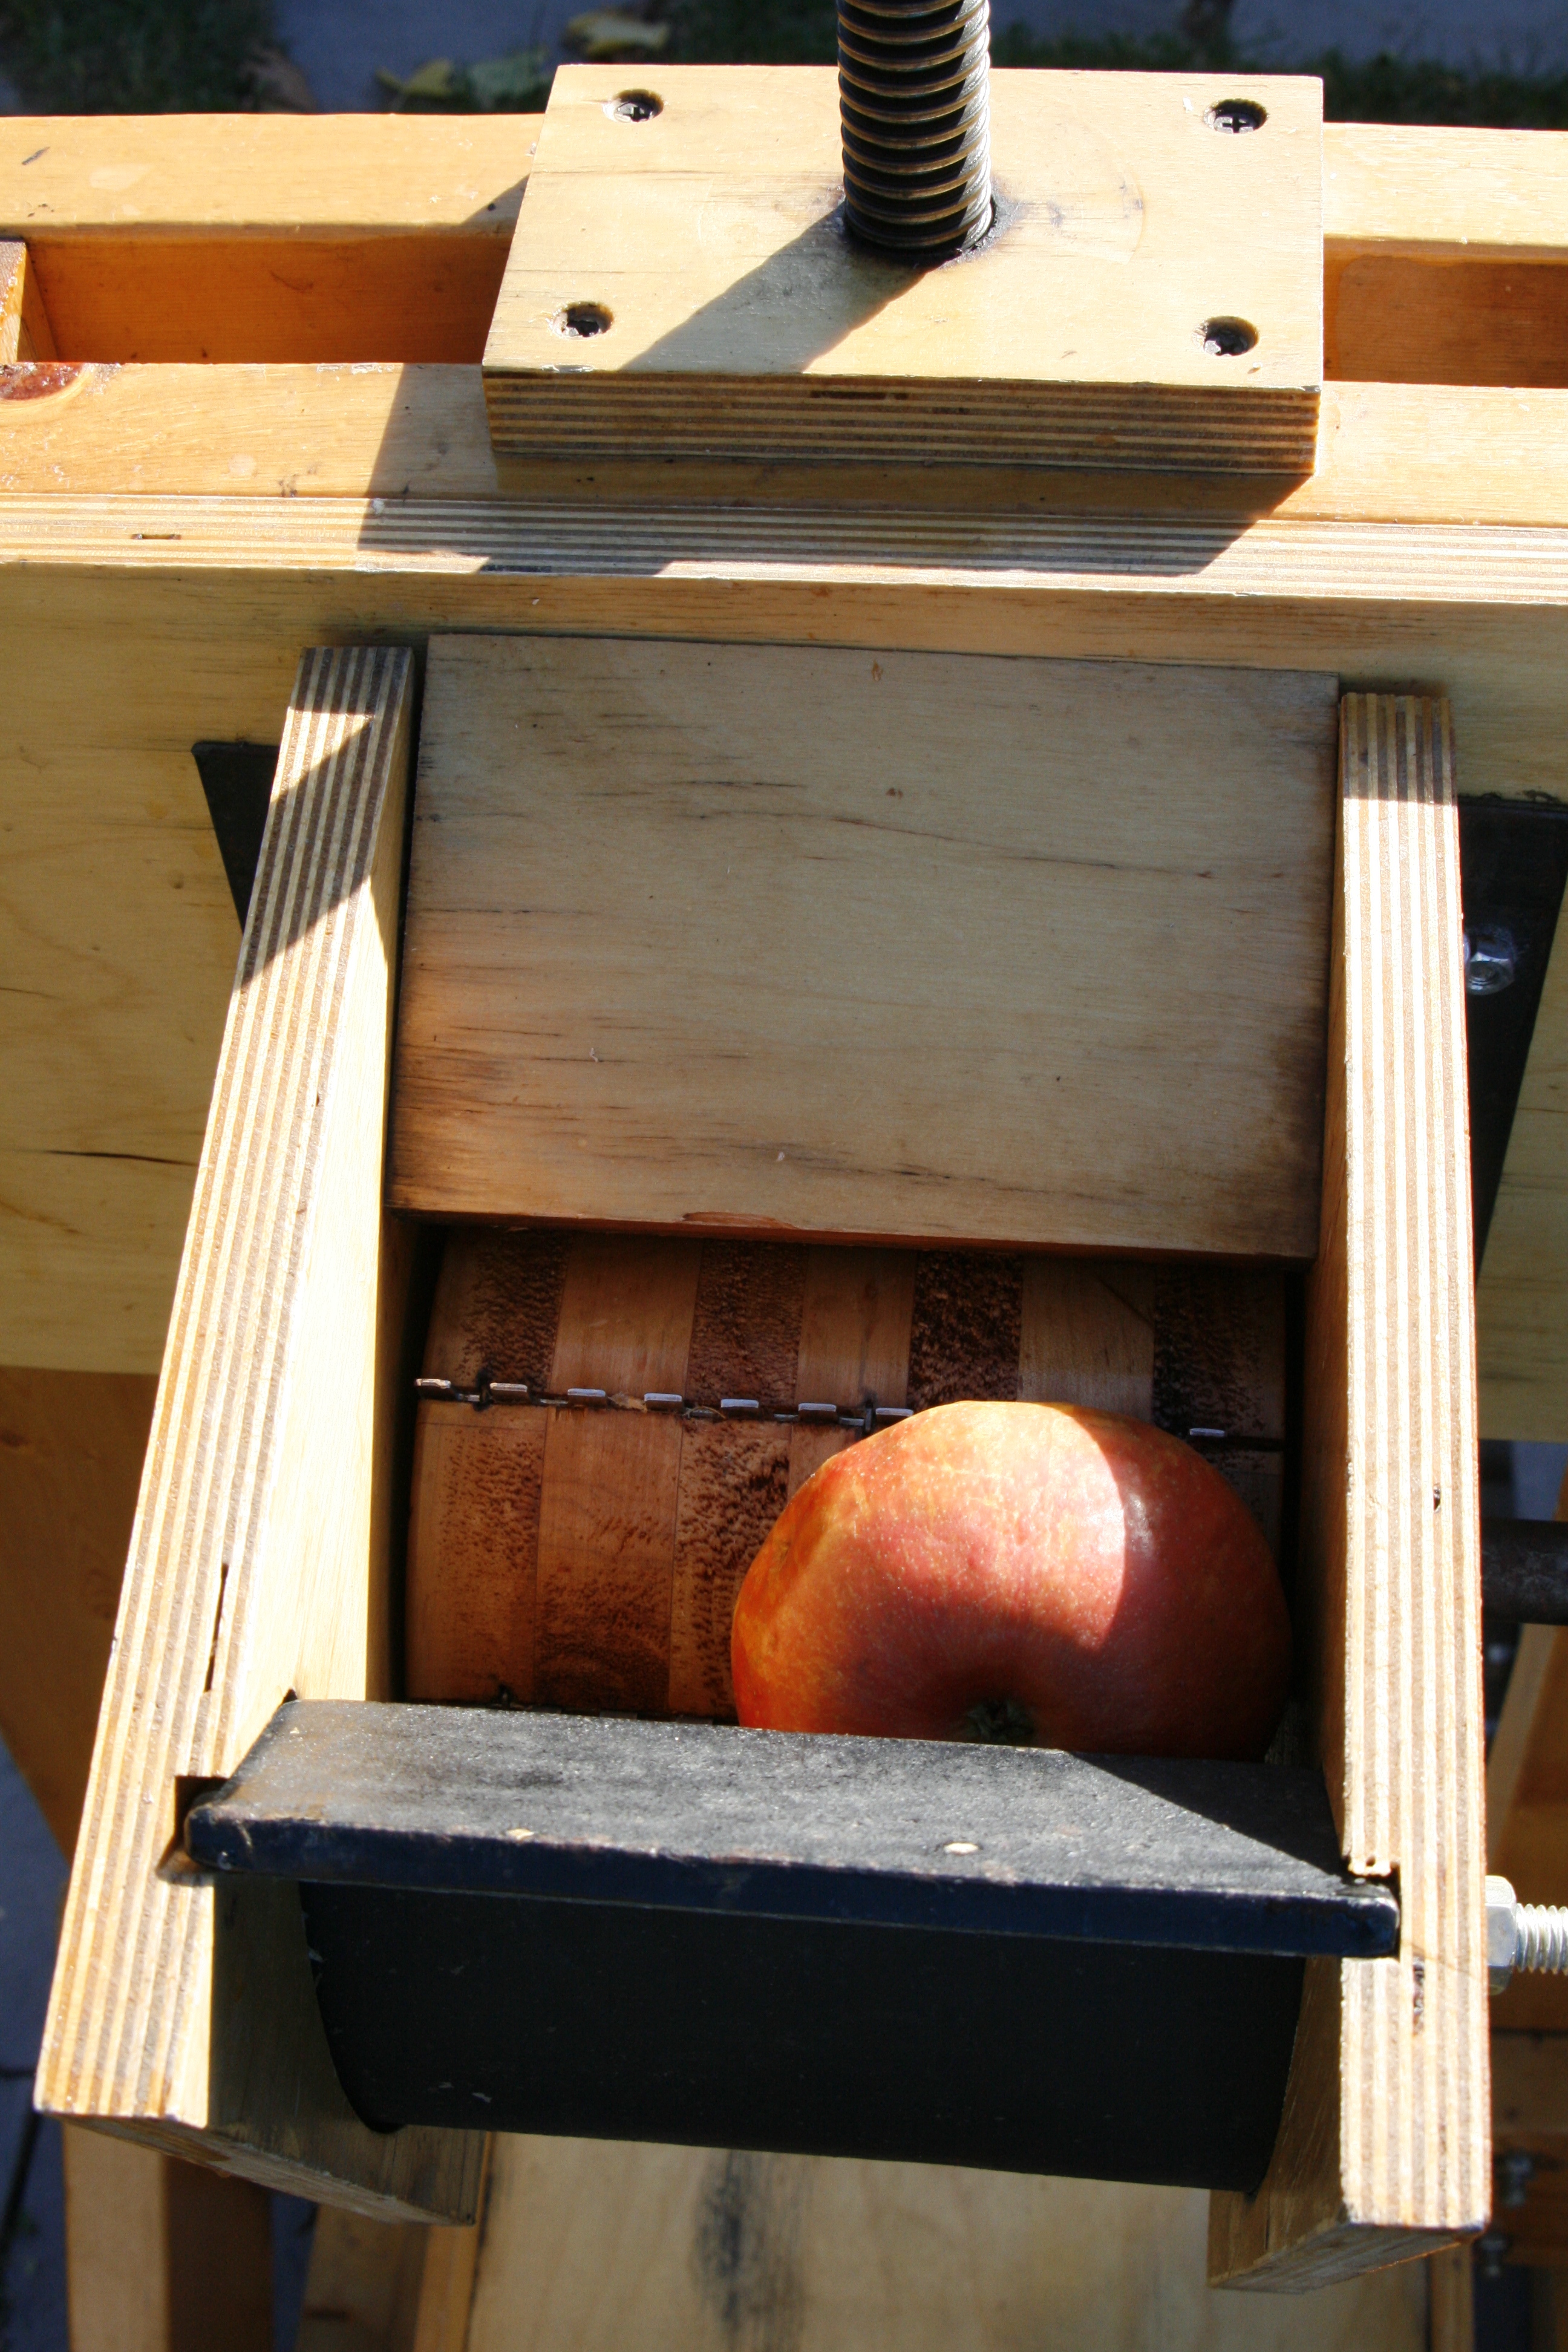
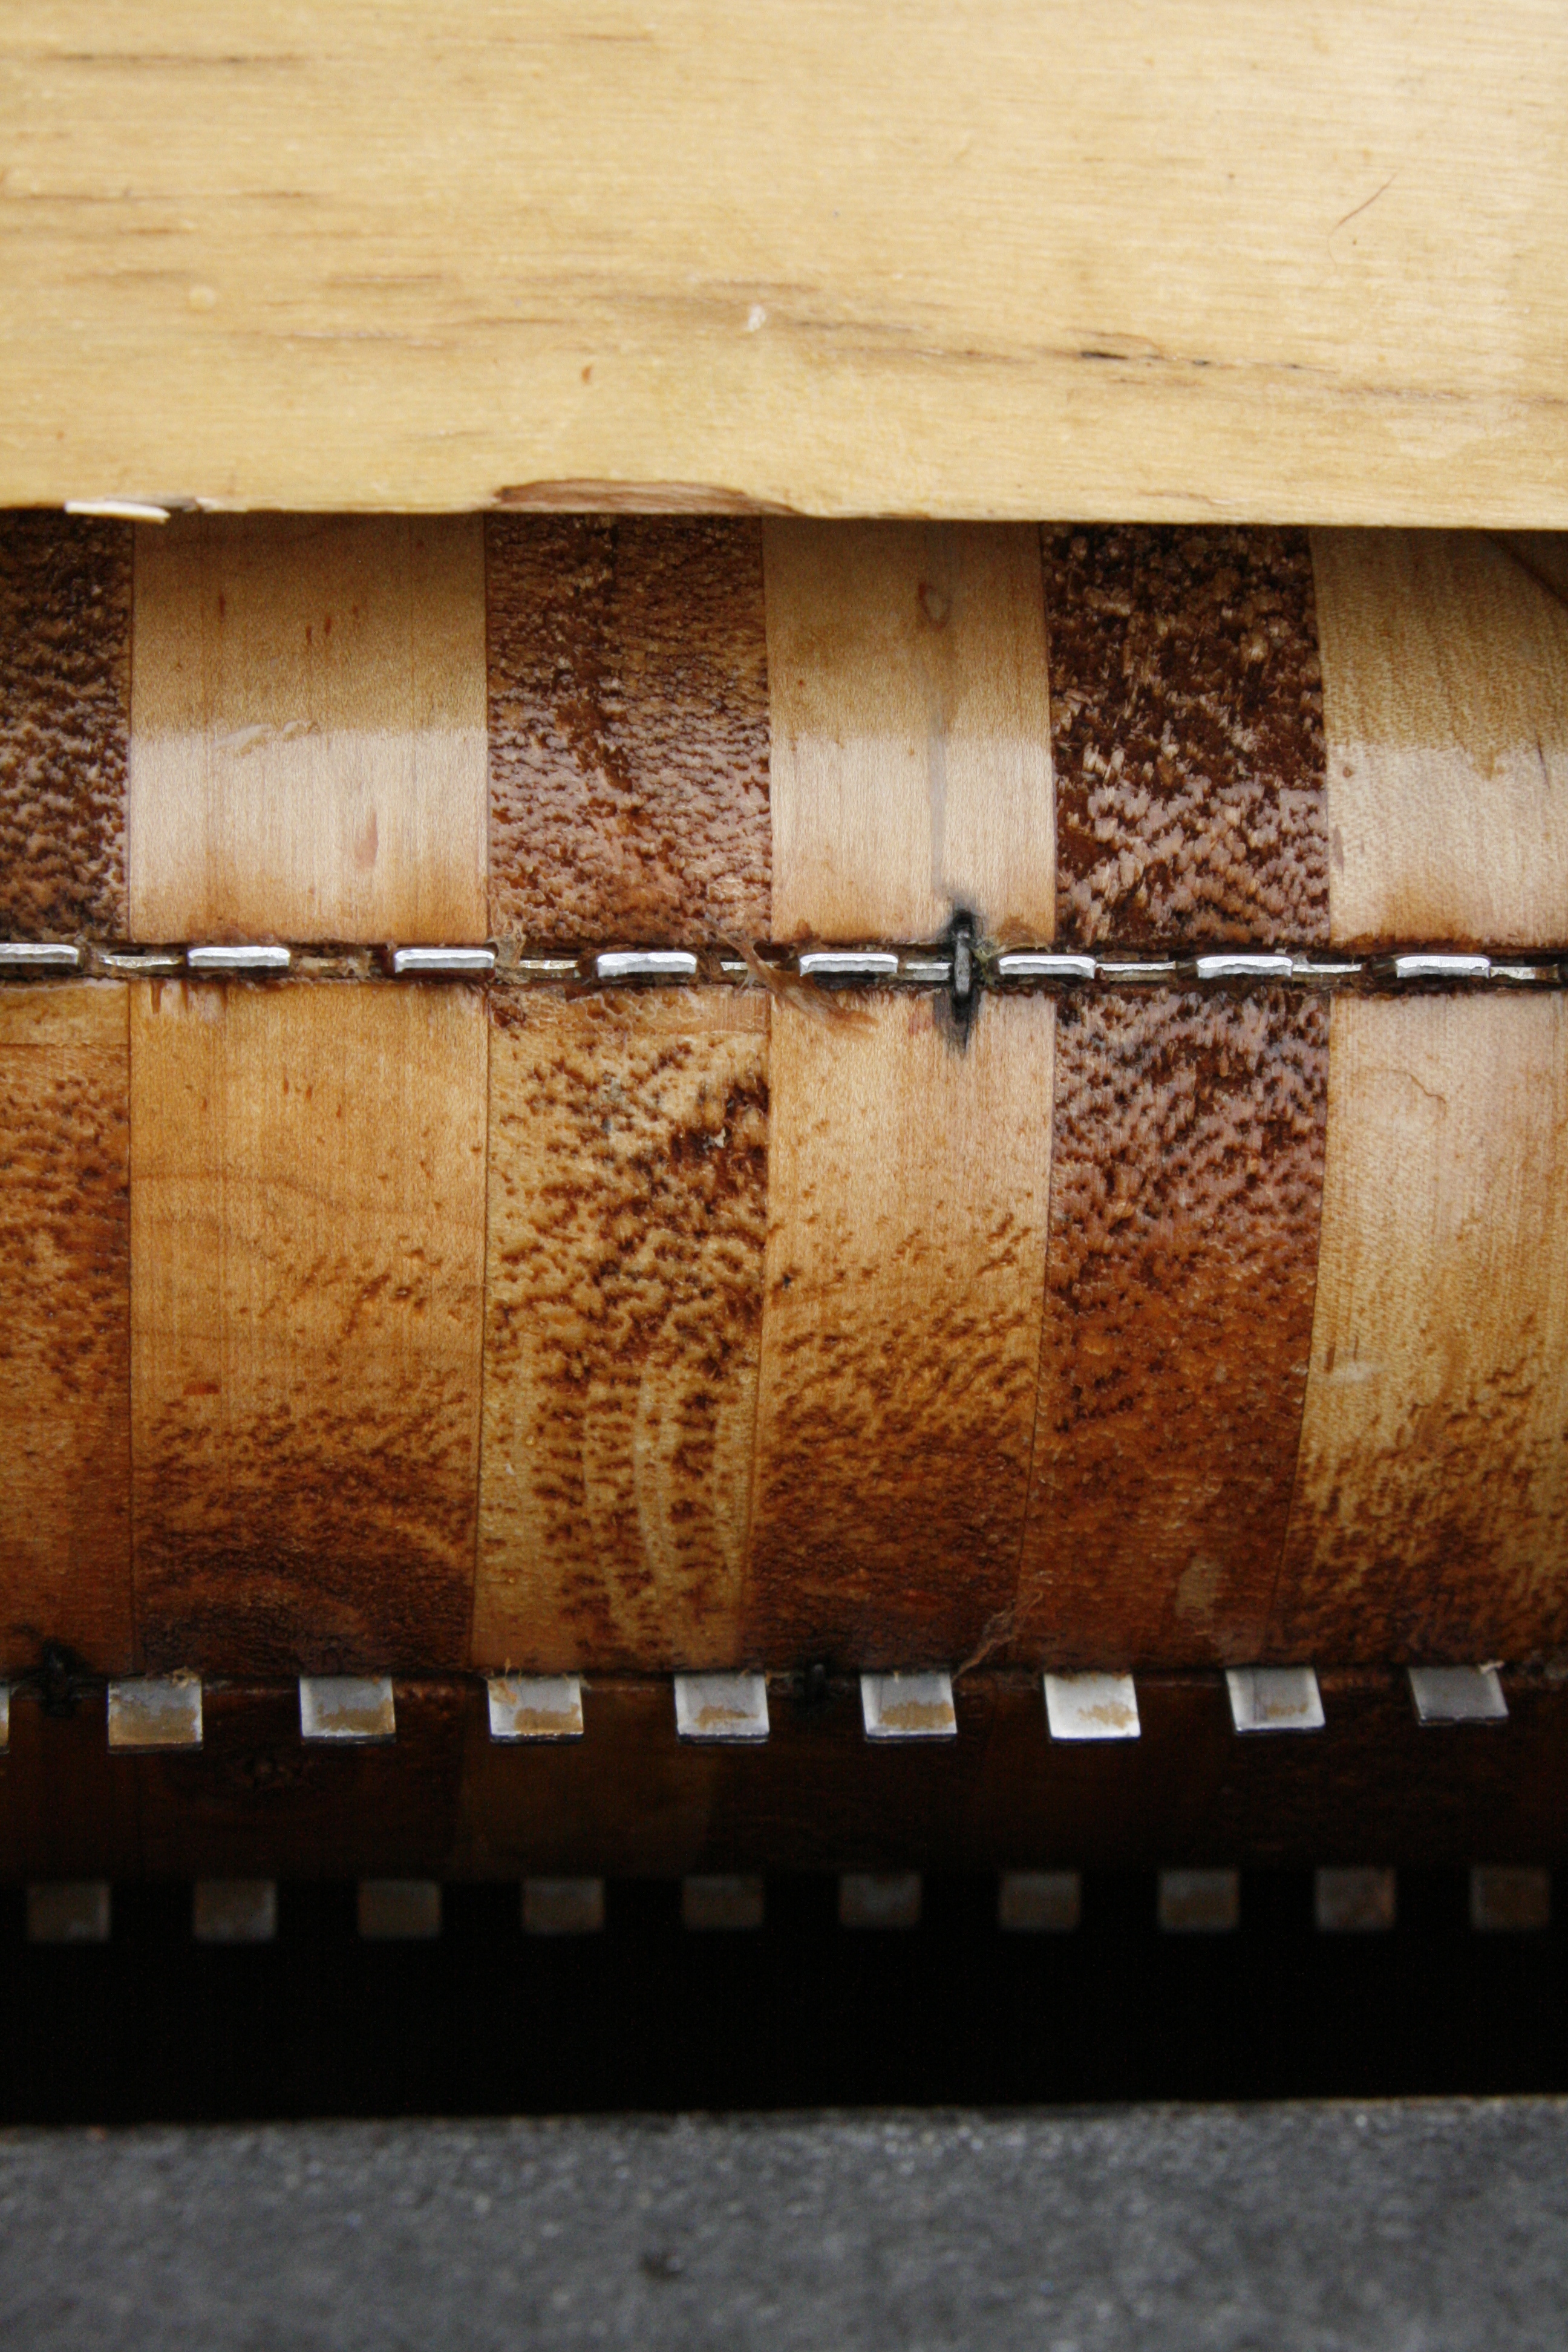
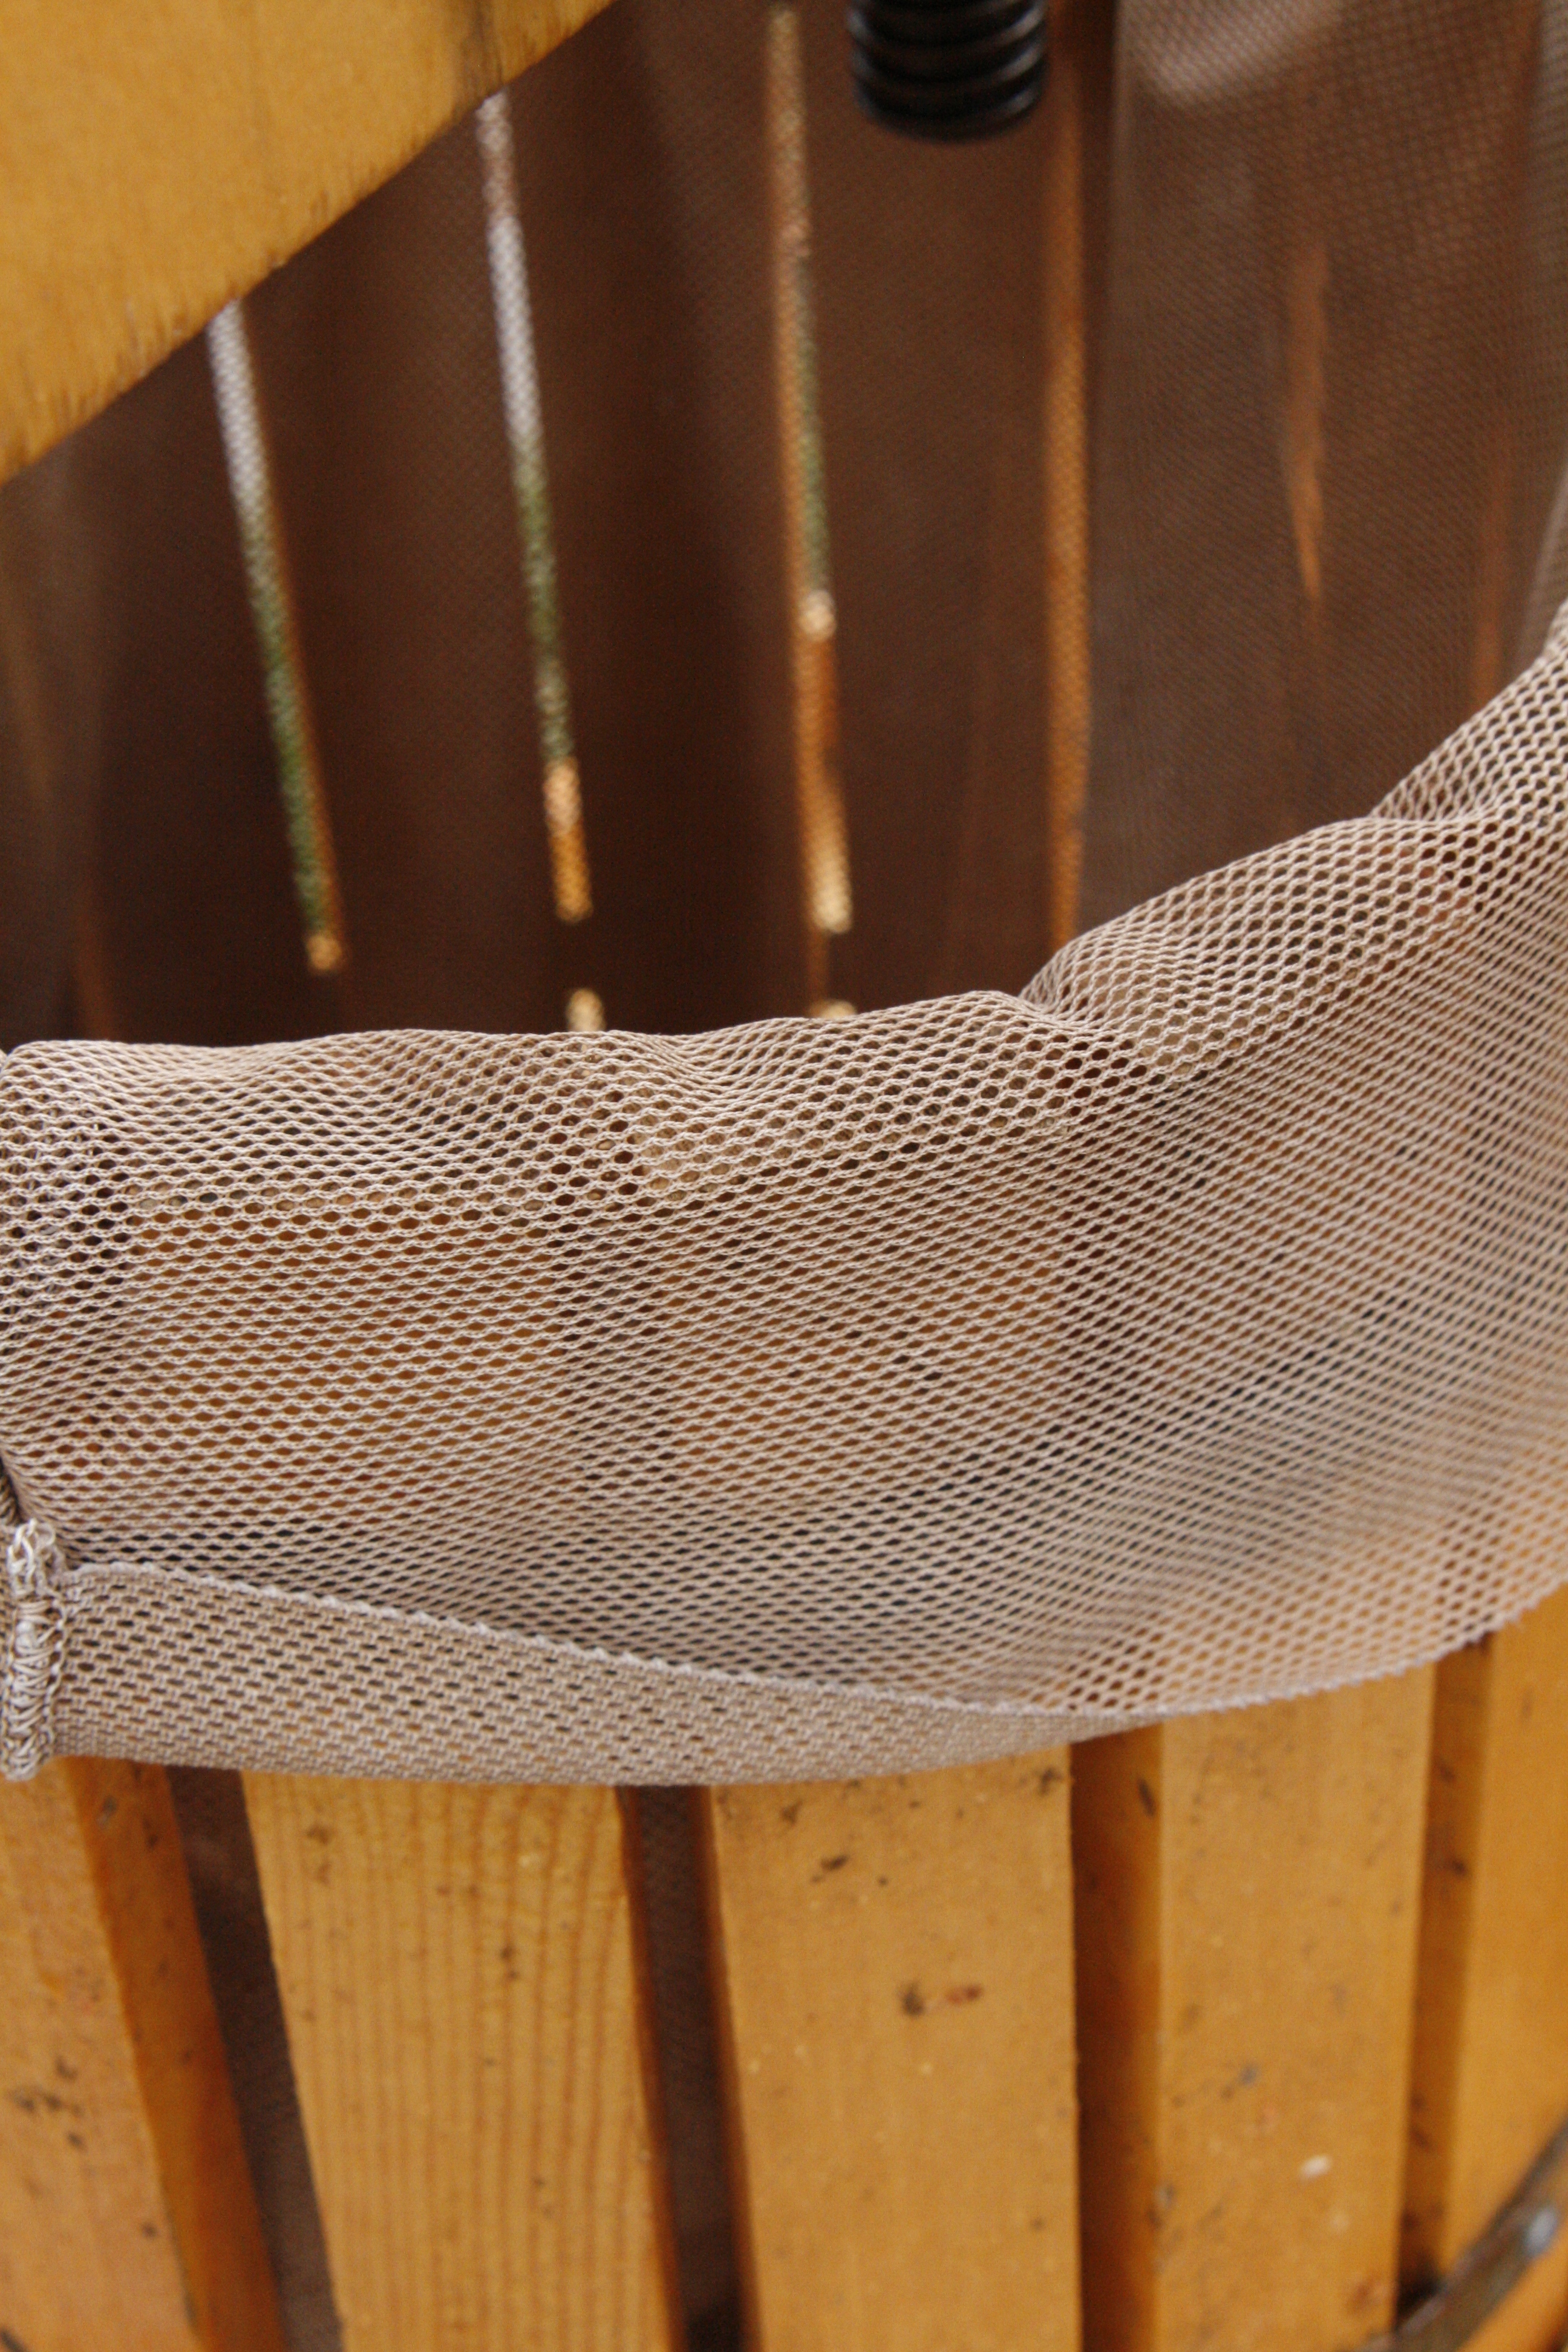
The first step in the process after setting up is to wash and dry your apples. Apples go into the hopper where there are large metal teeth that grind the apples as you turn the large red wheel. Apples fall into the pressing basket into a mesh bag that allows the juices to flow through the holes keeping the larger pieces (the mash) in.

_MG_4954  _MG_4897  _MG_4896

In addition to doing this at home with my own children for many years (and now we live within the city proper, with no apple tree and a postage stamp yard:) I think I have taken this to every school that my children have ever attended, and wherever I have taught. Last year the kindergarten classes I worked with did an entire tree unit, so this fit in nicely. This year (at the request of the PreK and Kindergarten teachers) I incorporated it into the art classes I am teaching. How? We talked about ARTISANAL food making – food making as an art by using a lot of care and good ingredients in the process. We made small batch artisanal apple cider. They loved it:)

Cider5  cider2

Cider1  _MG_4932 - Version 2

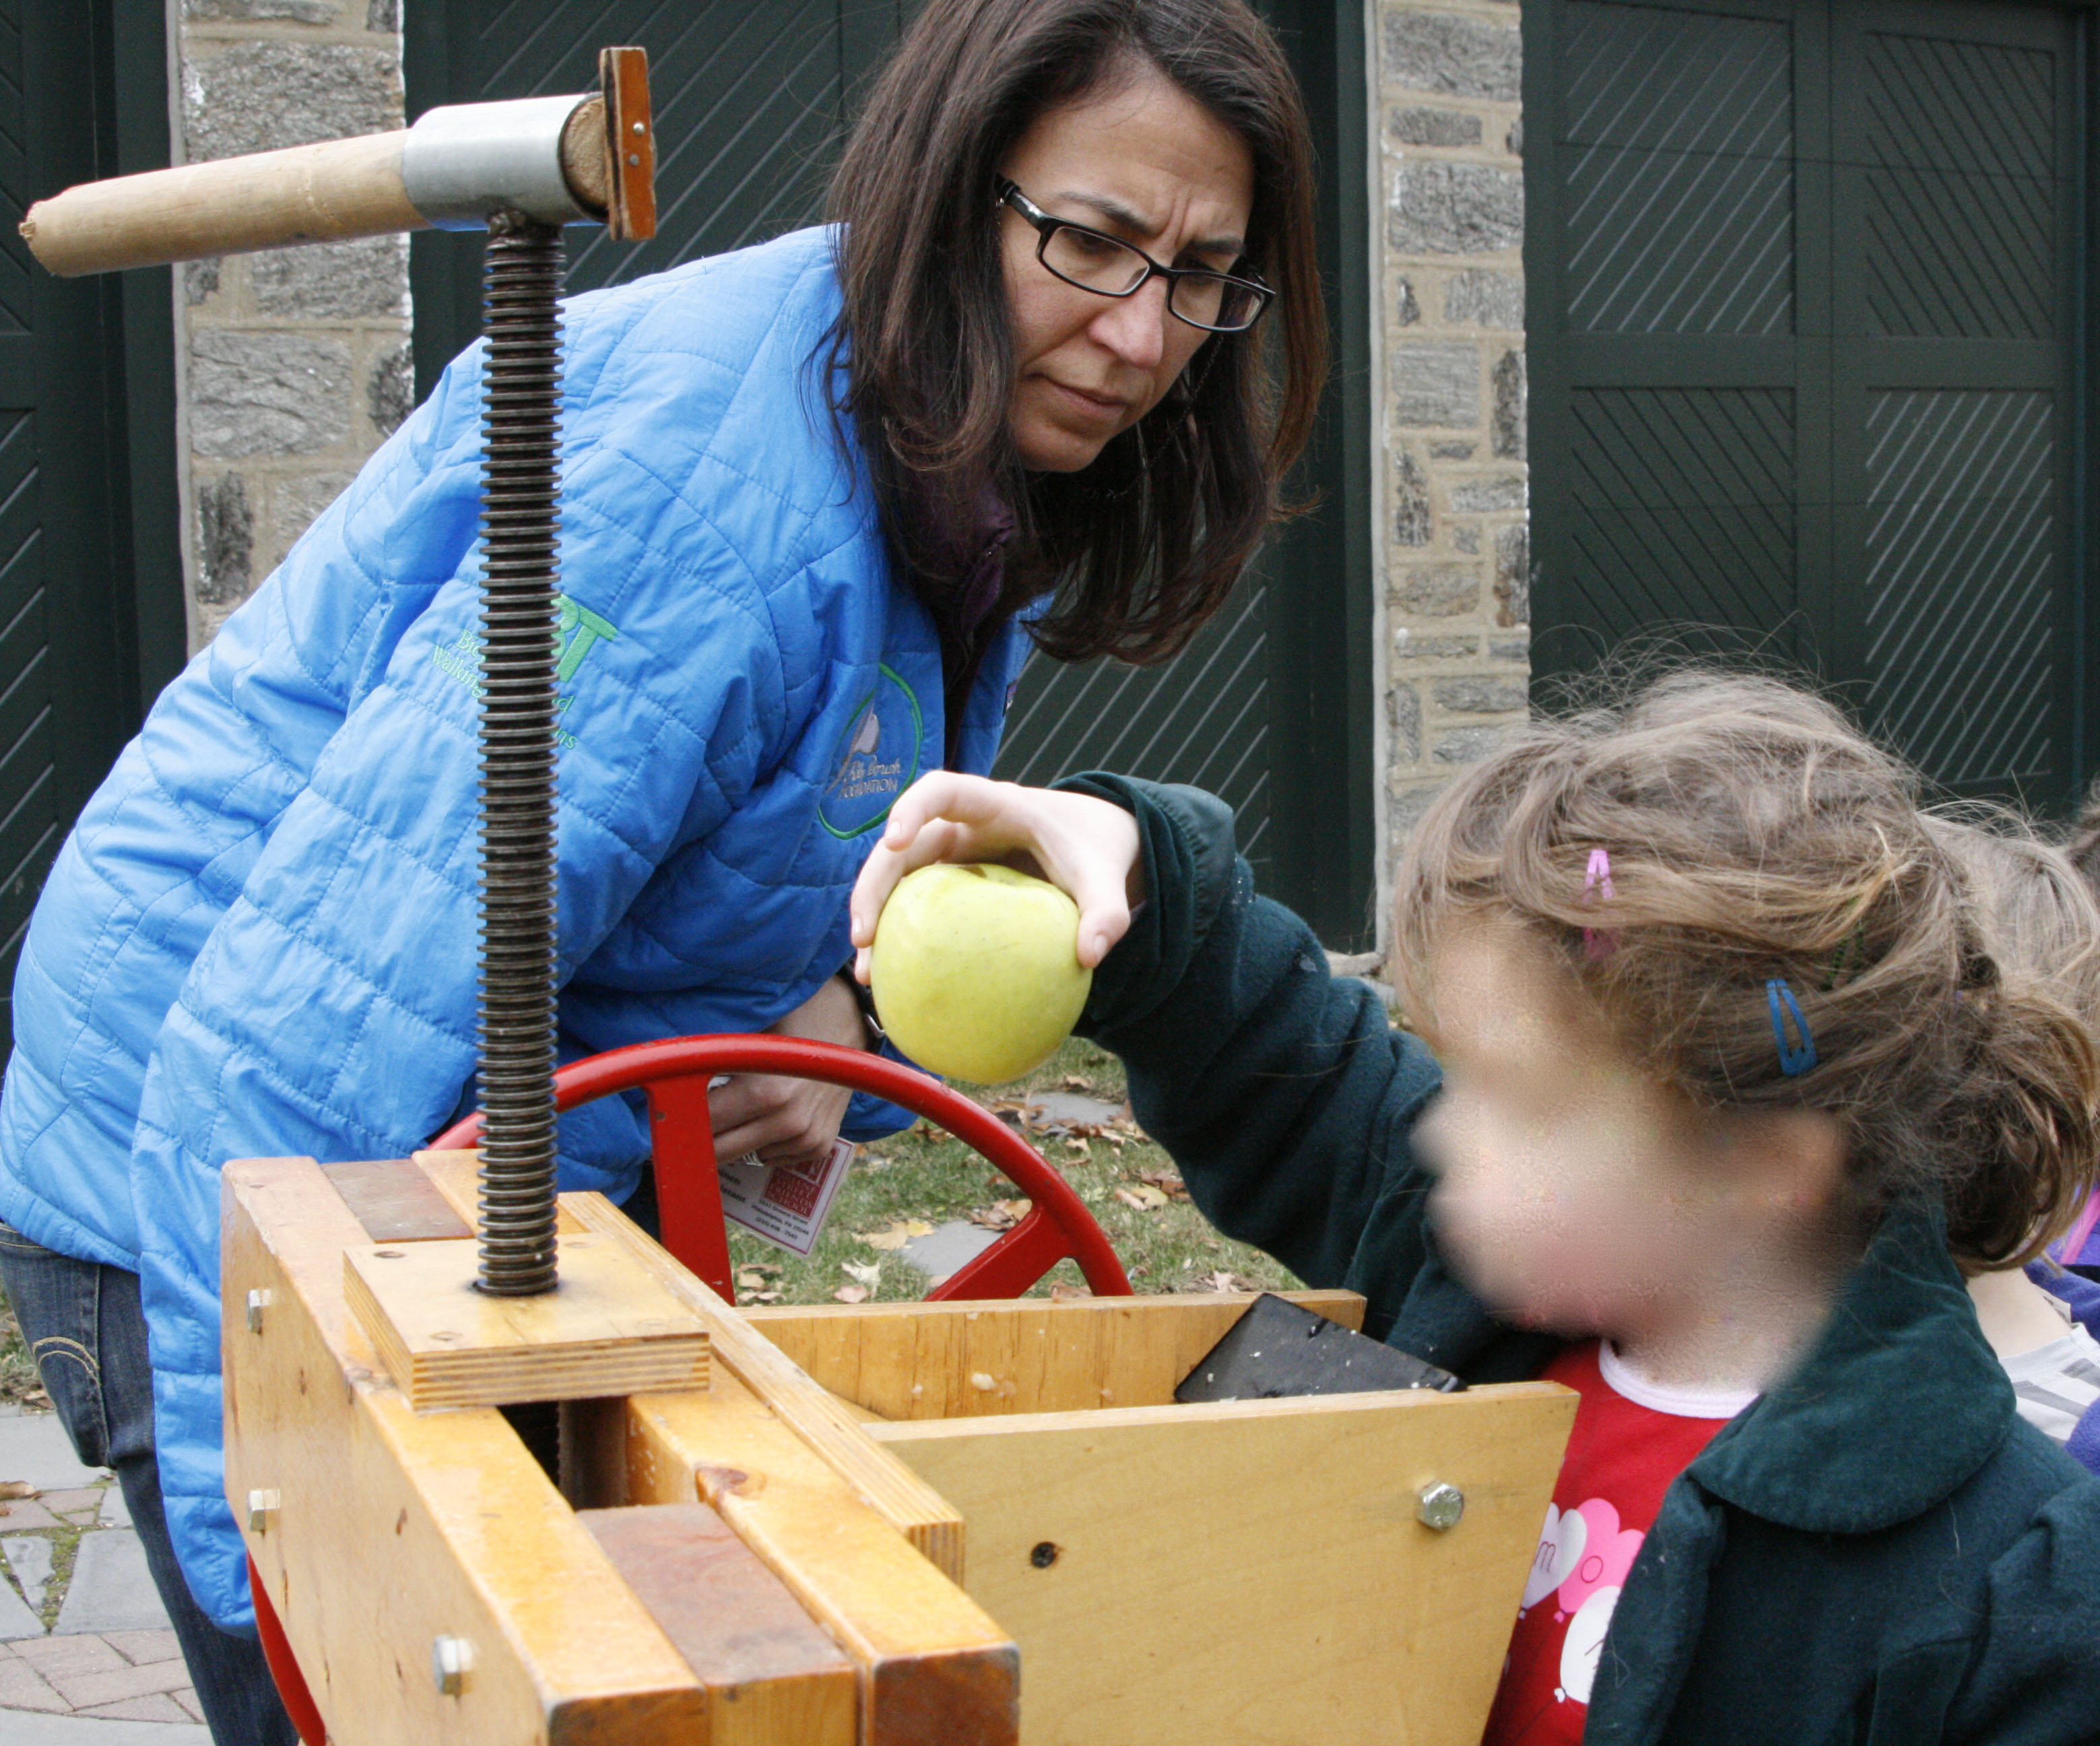
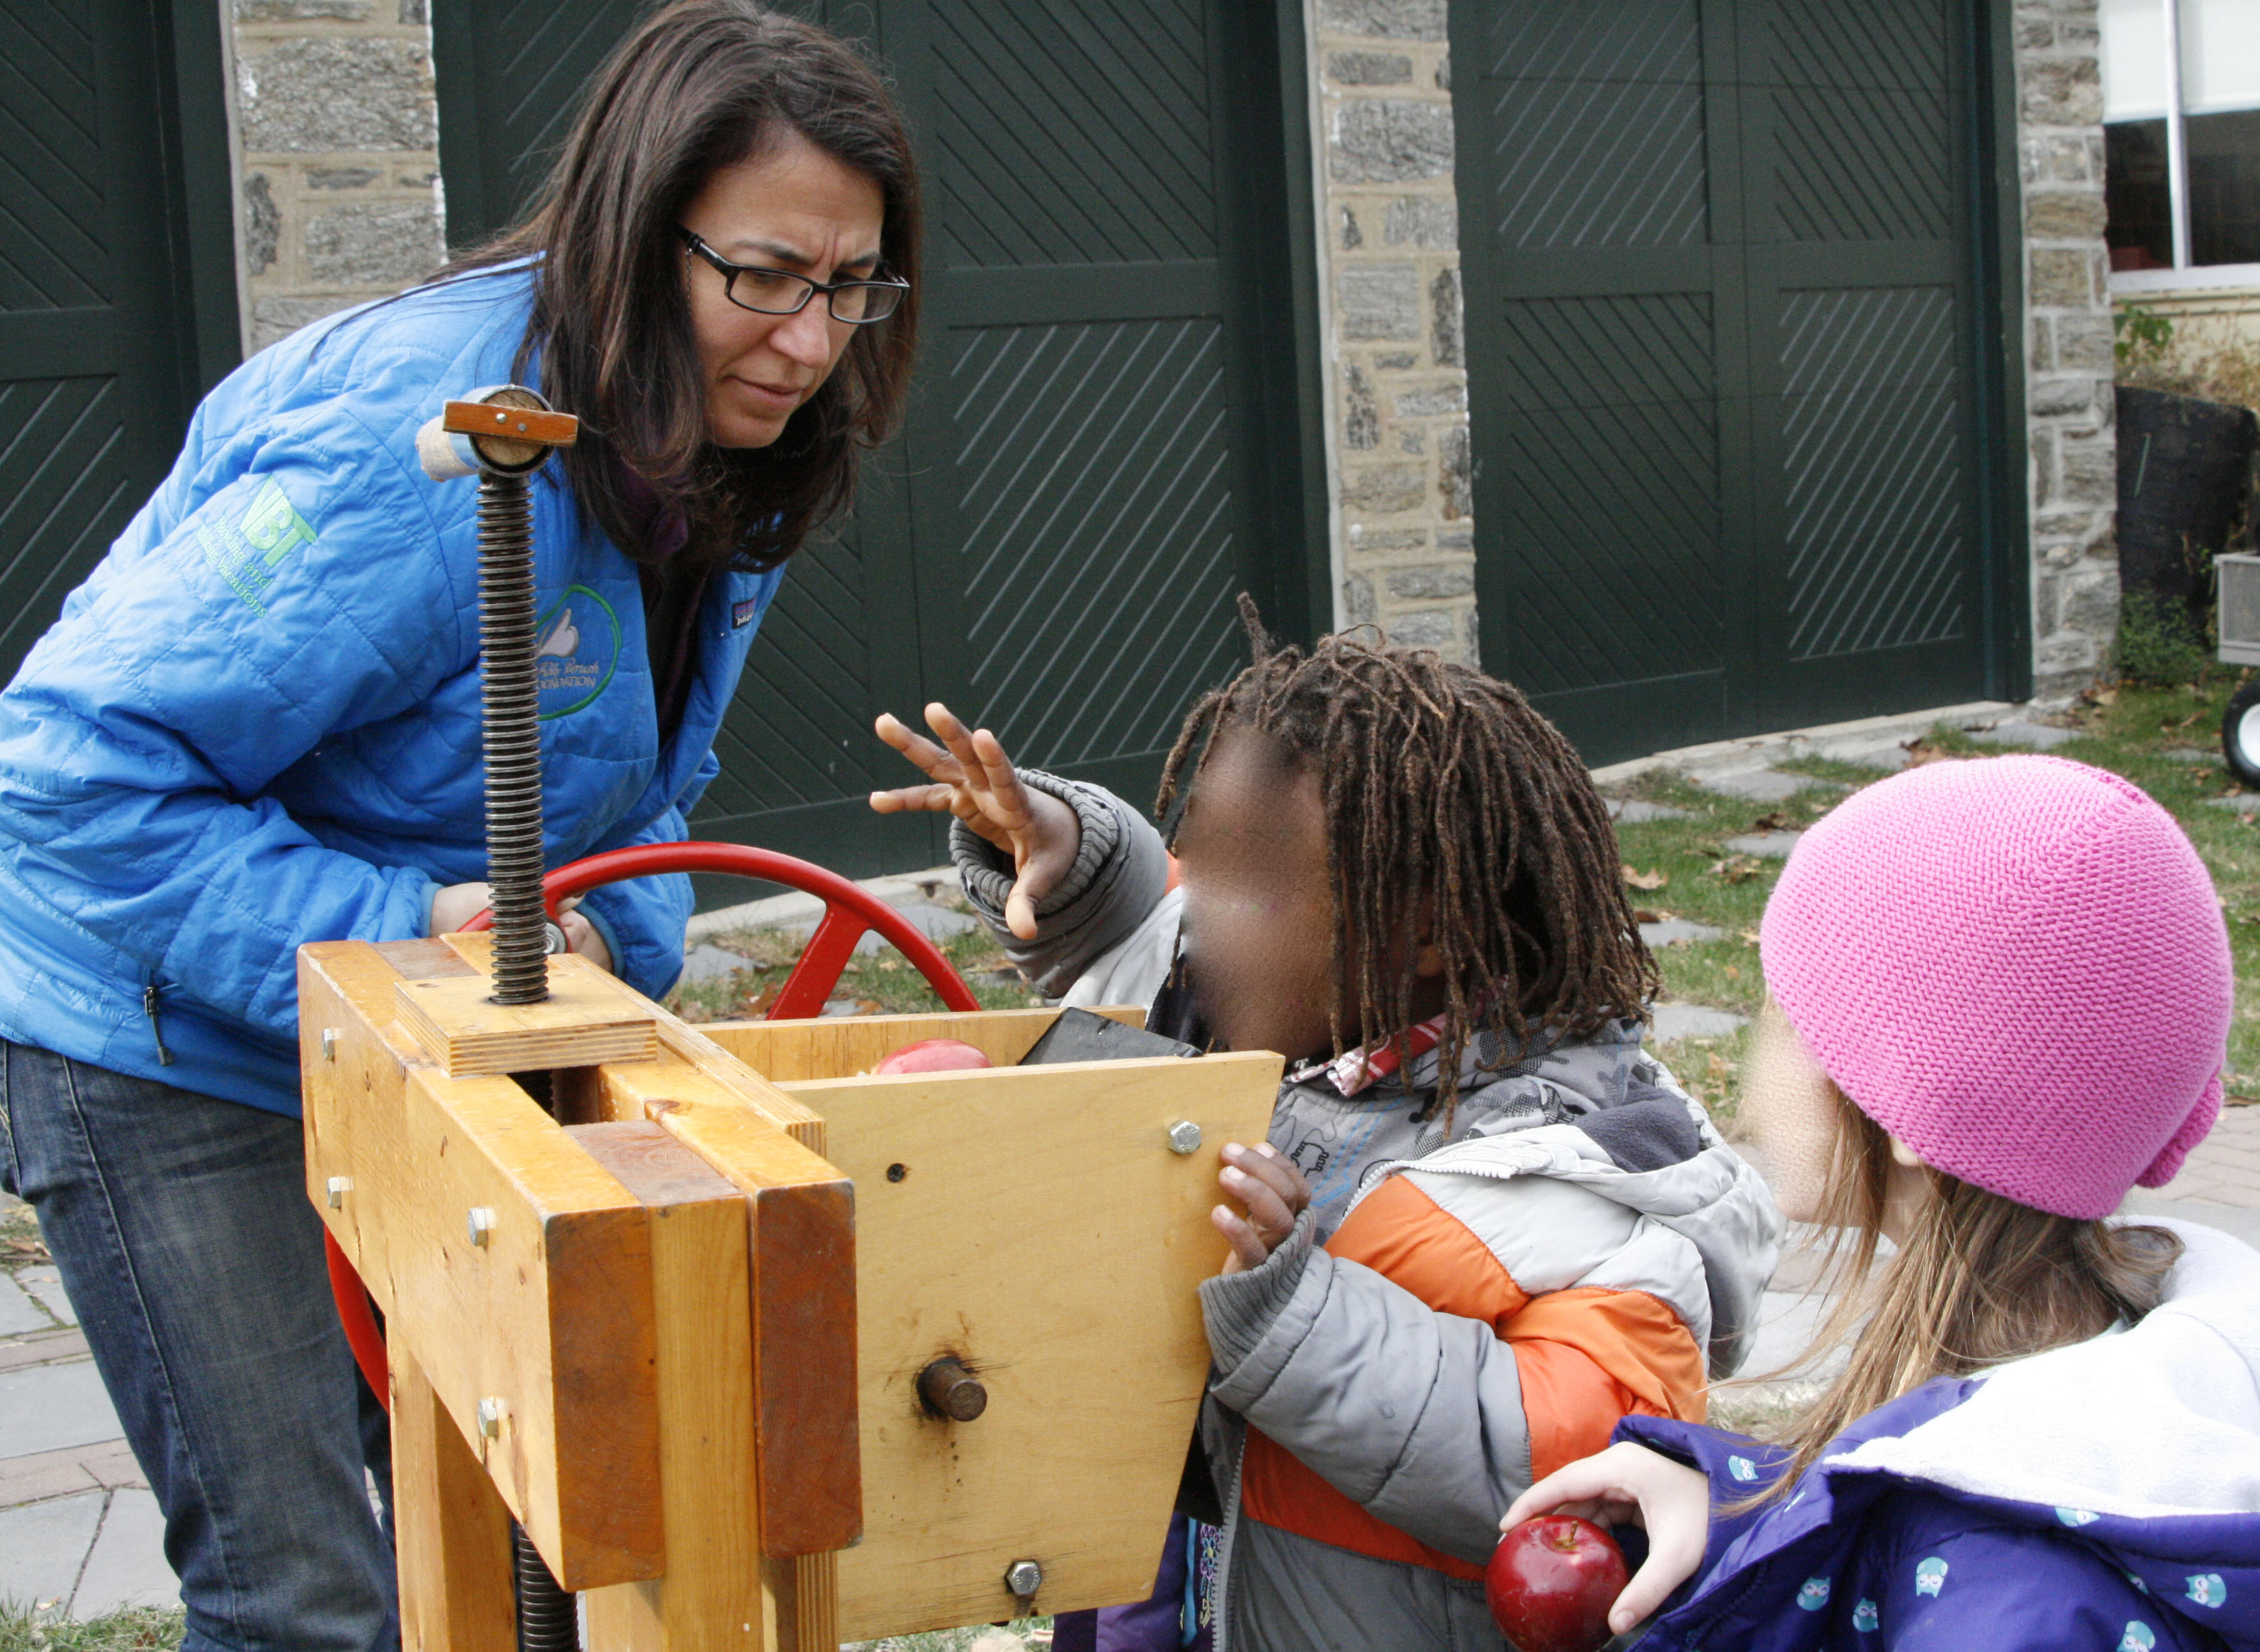
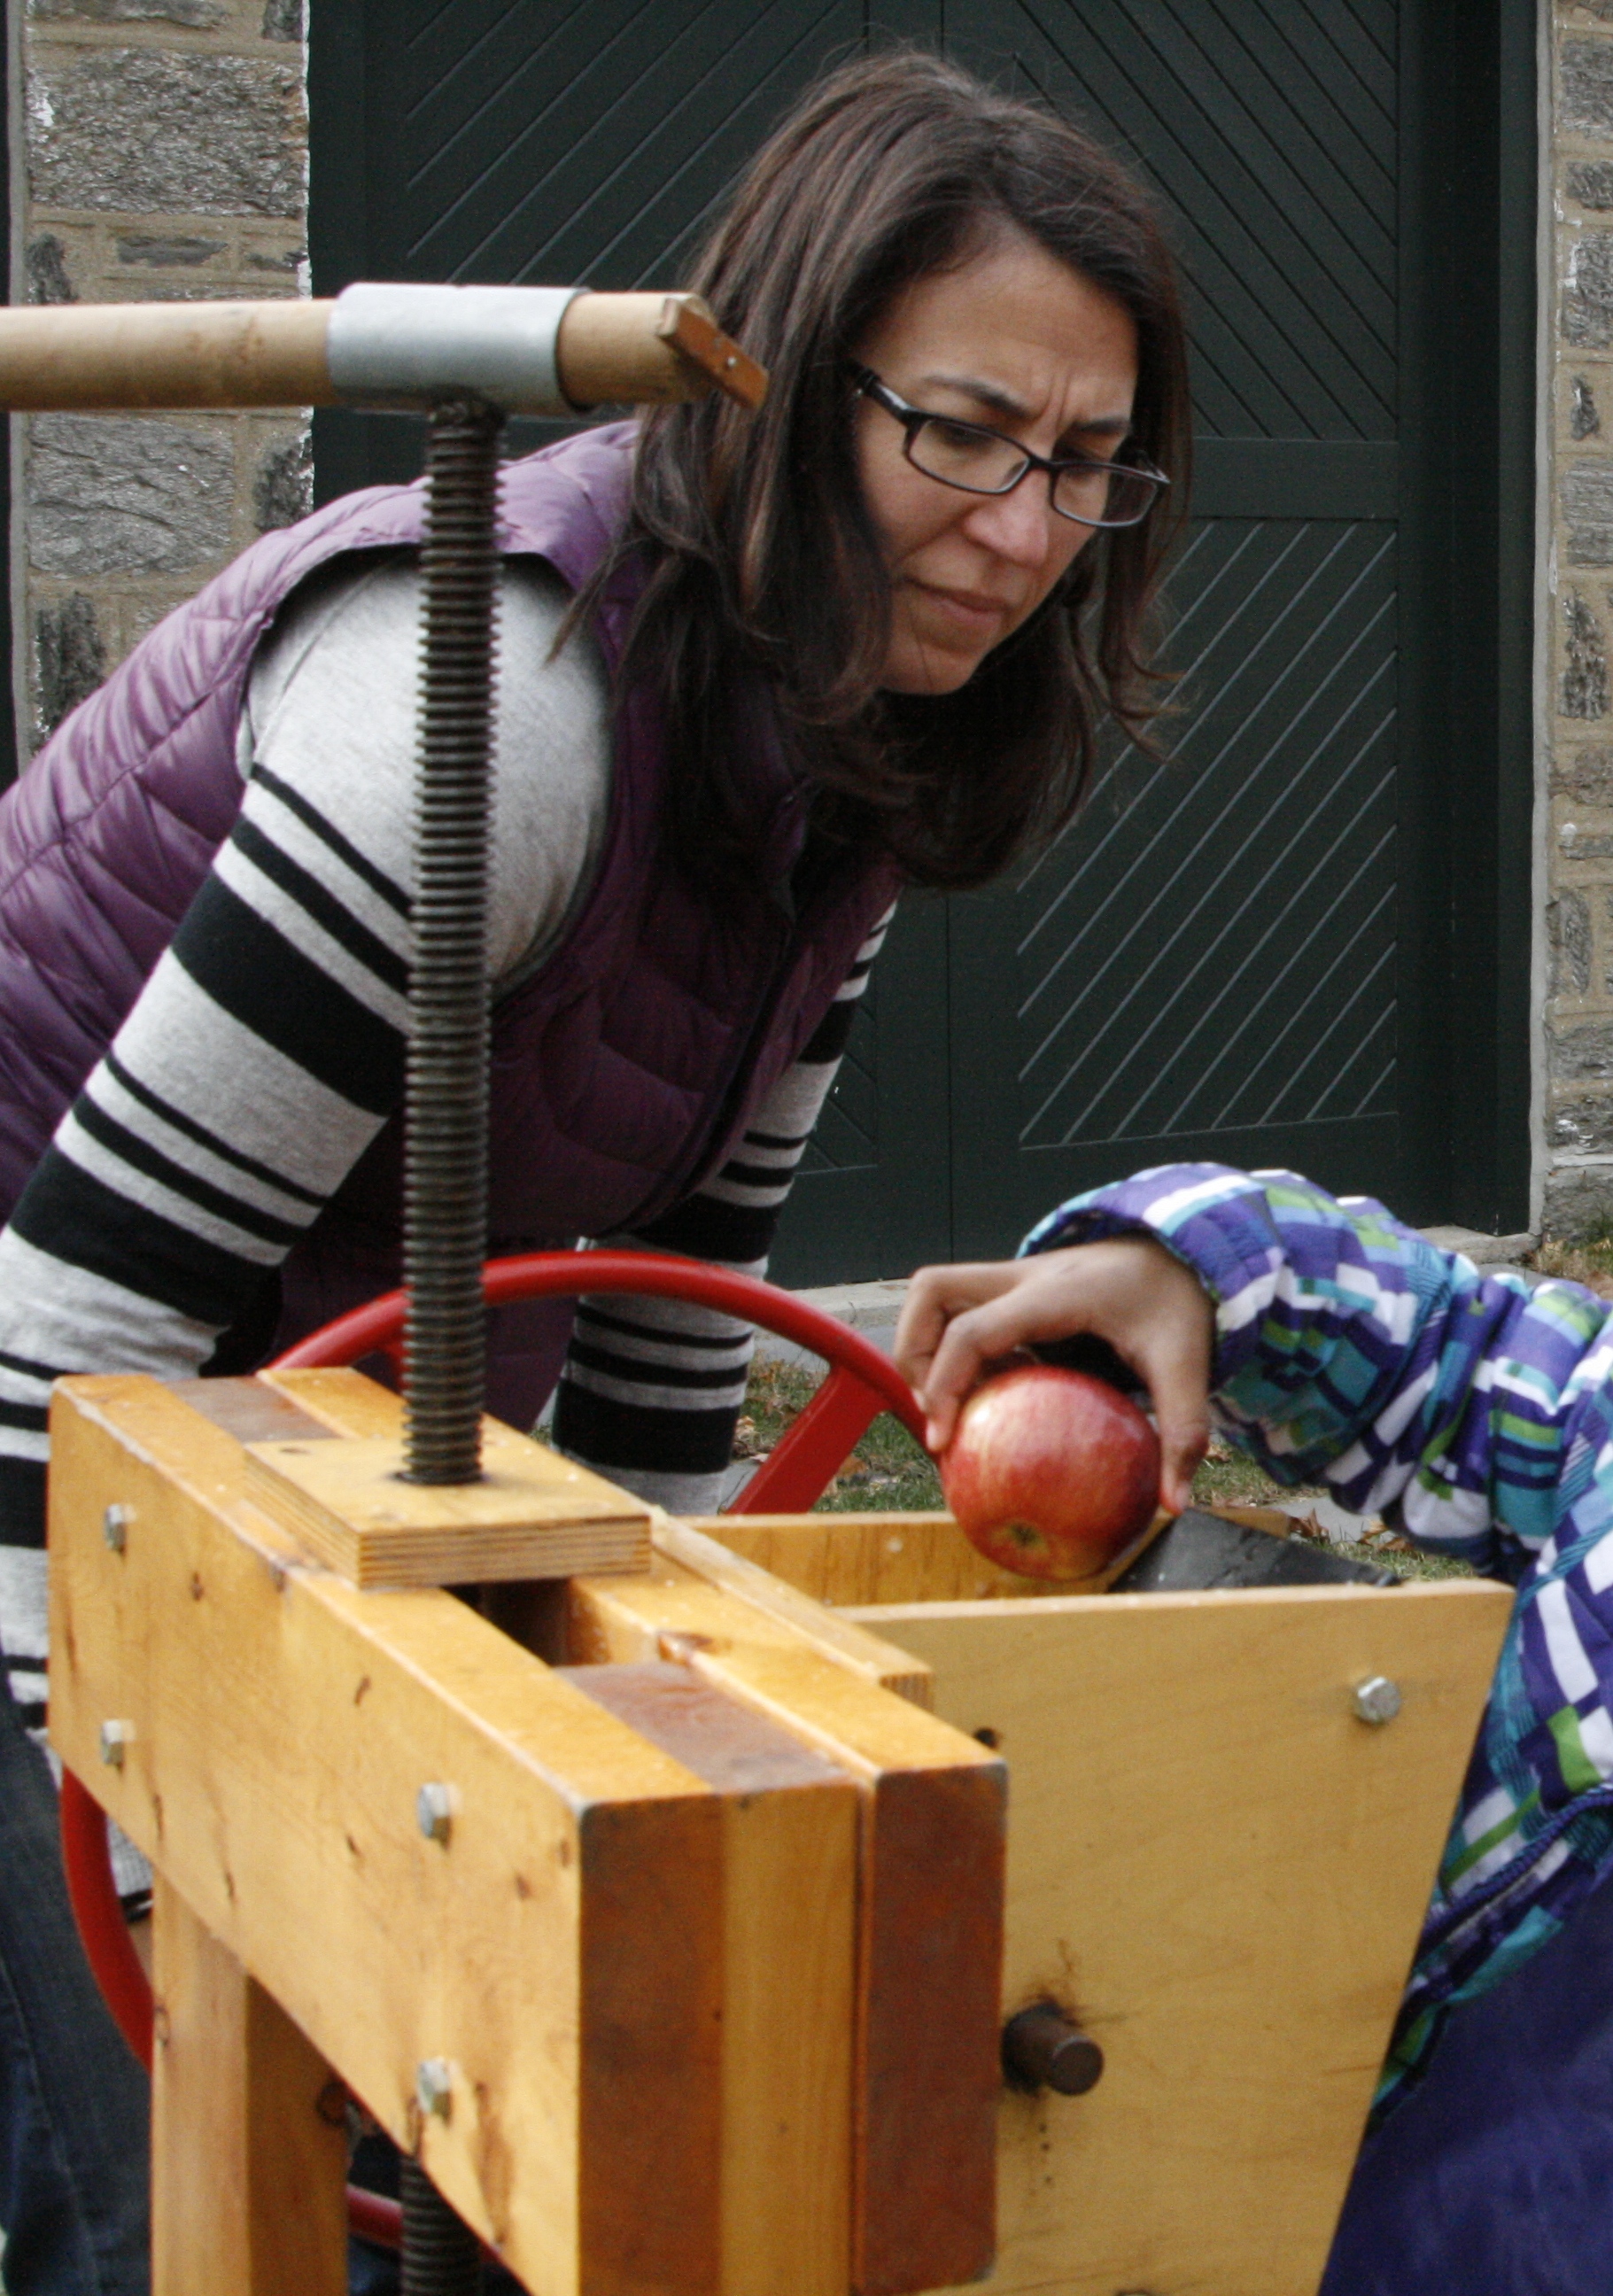
I’m looking sort of serious here. No matter how many times you talk about the sharp teeth inside the hopper, and you demonstrate how to drop the apple from high above, littler kids tend to get their hands way too close to the hopper. I am being vigilant that little hands are far away before I turn the grinder! This is what the apples look like after they’ve been through the grinder.

IMG_4855  Cider3    _MG_4949

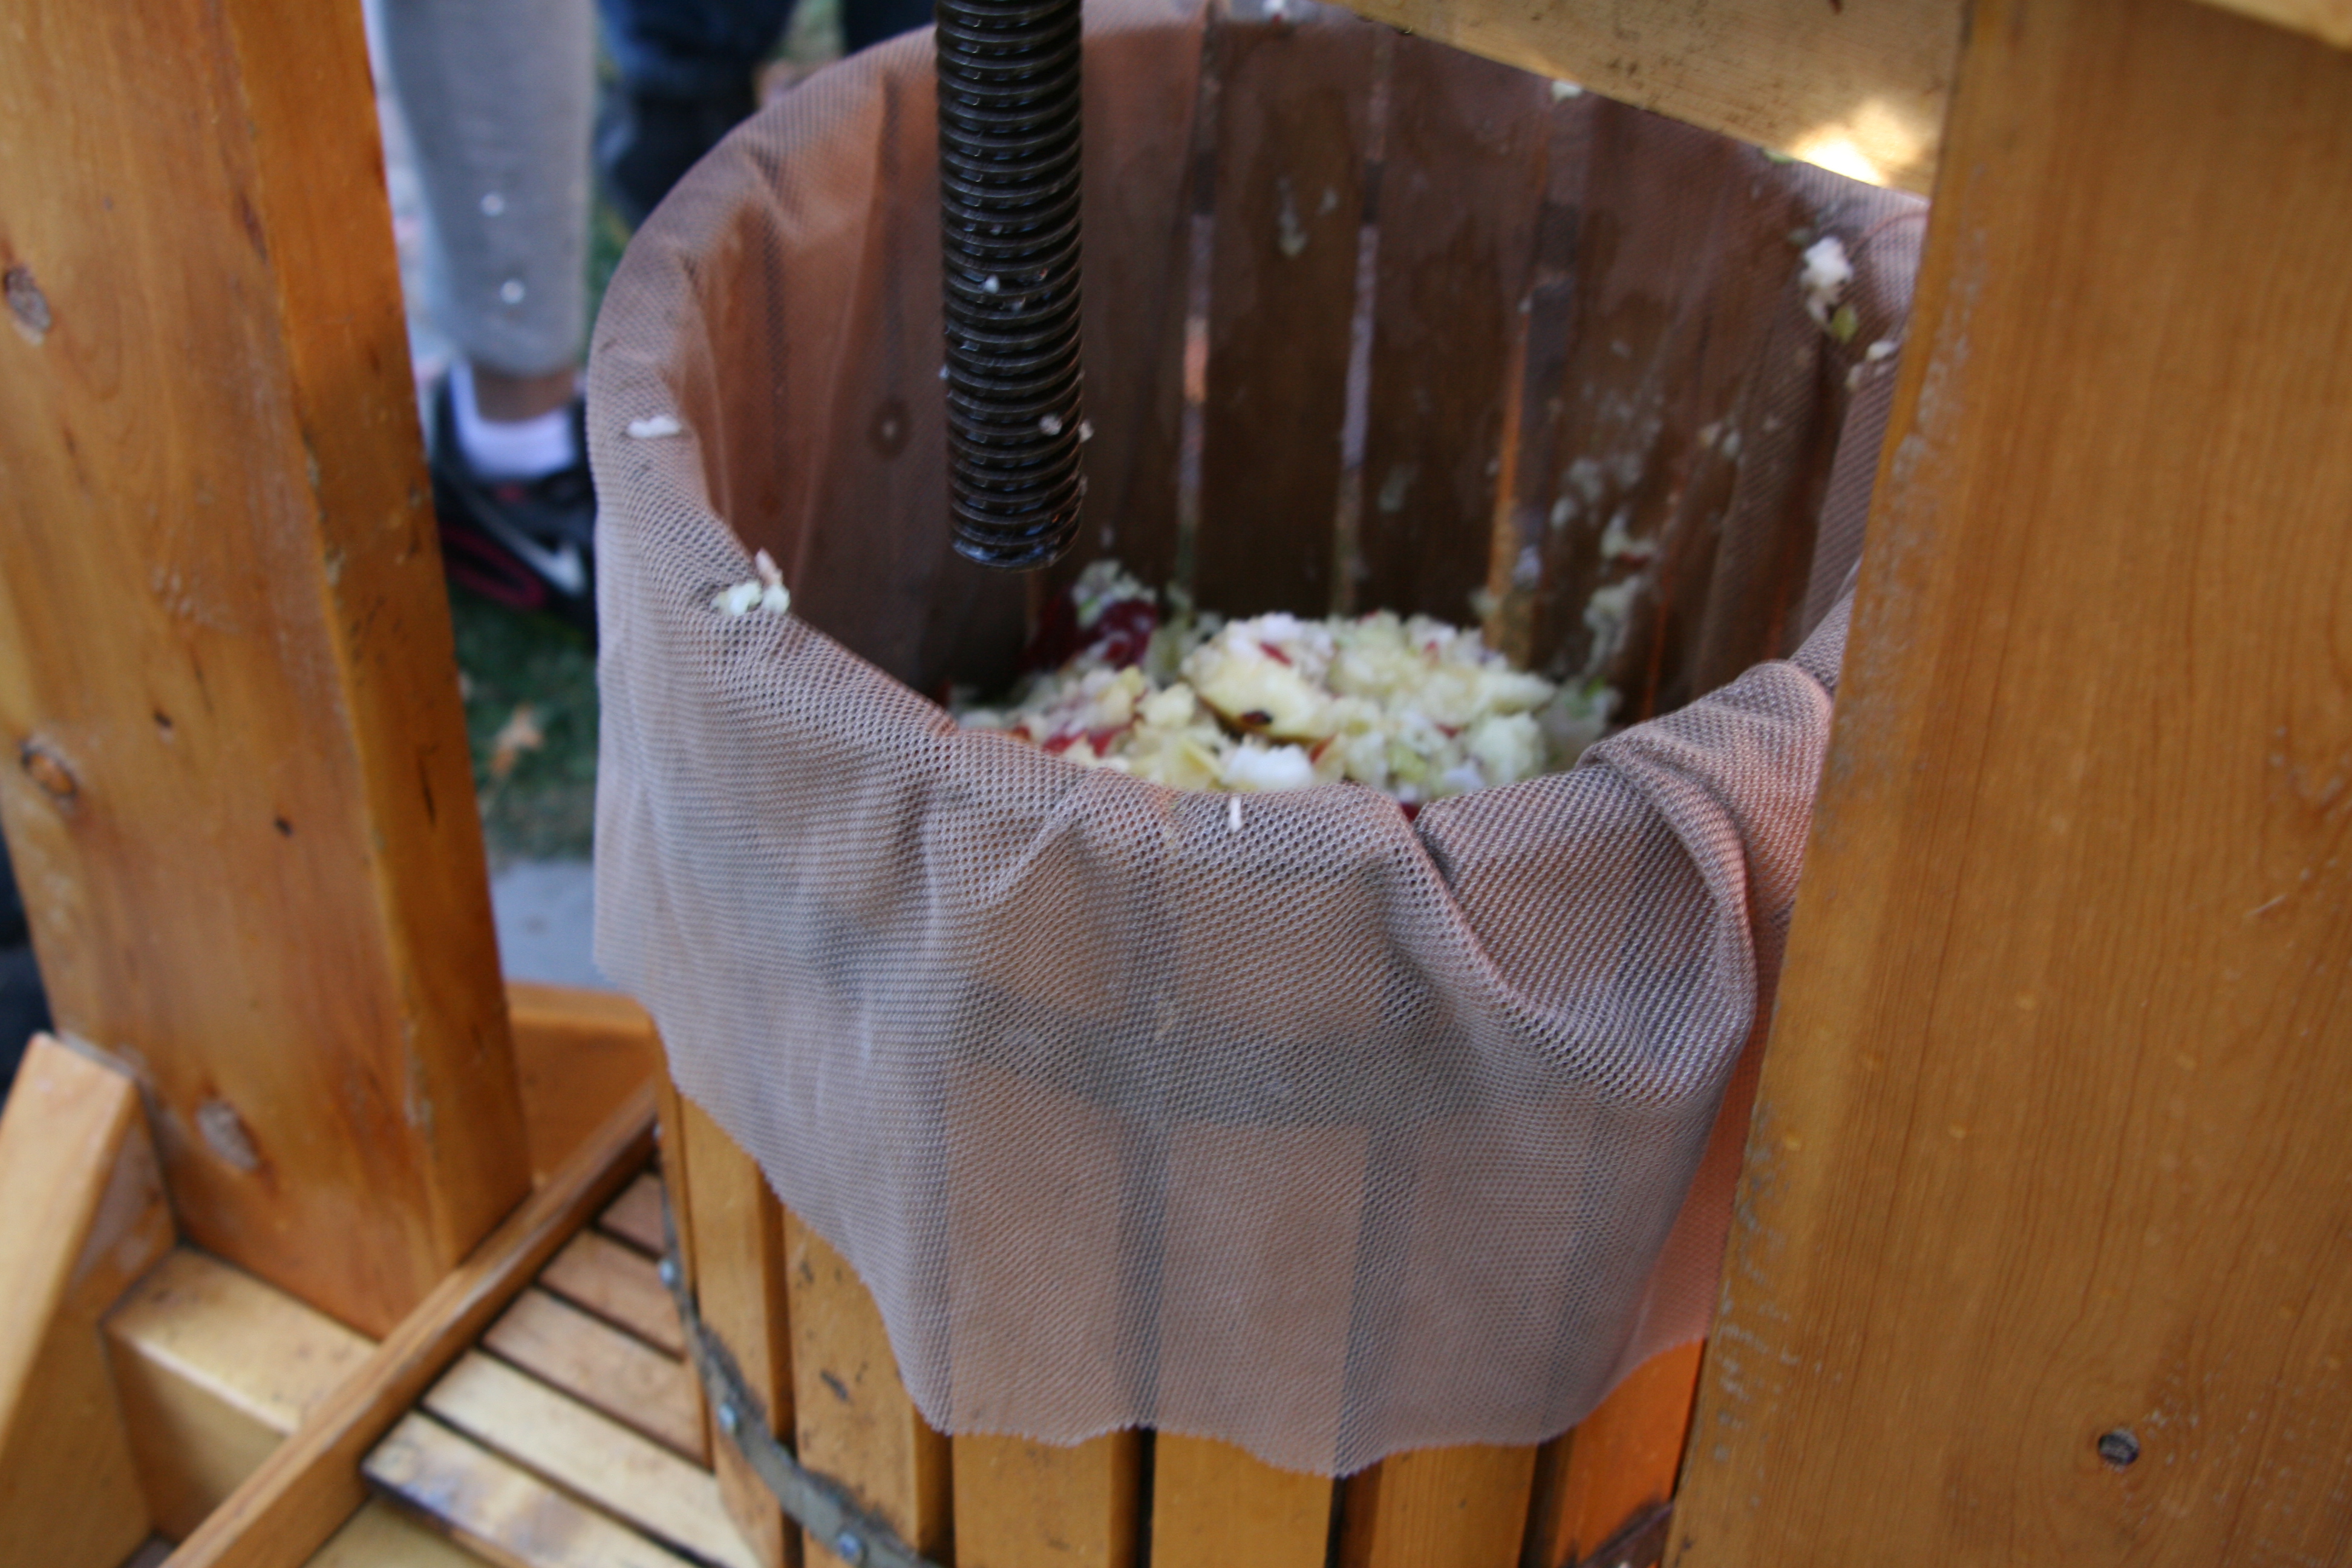
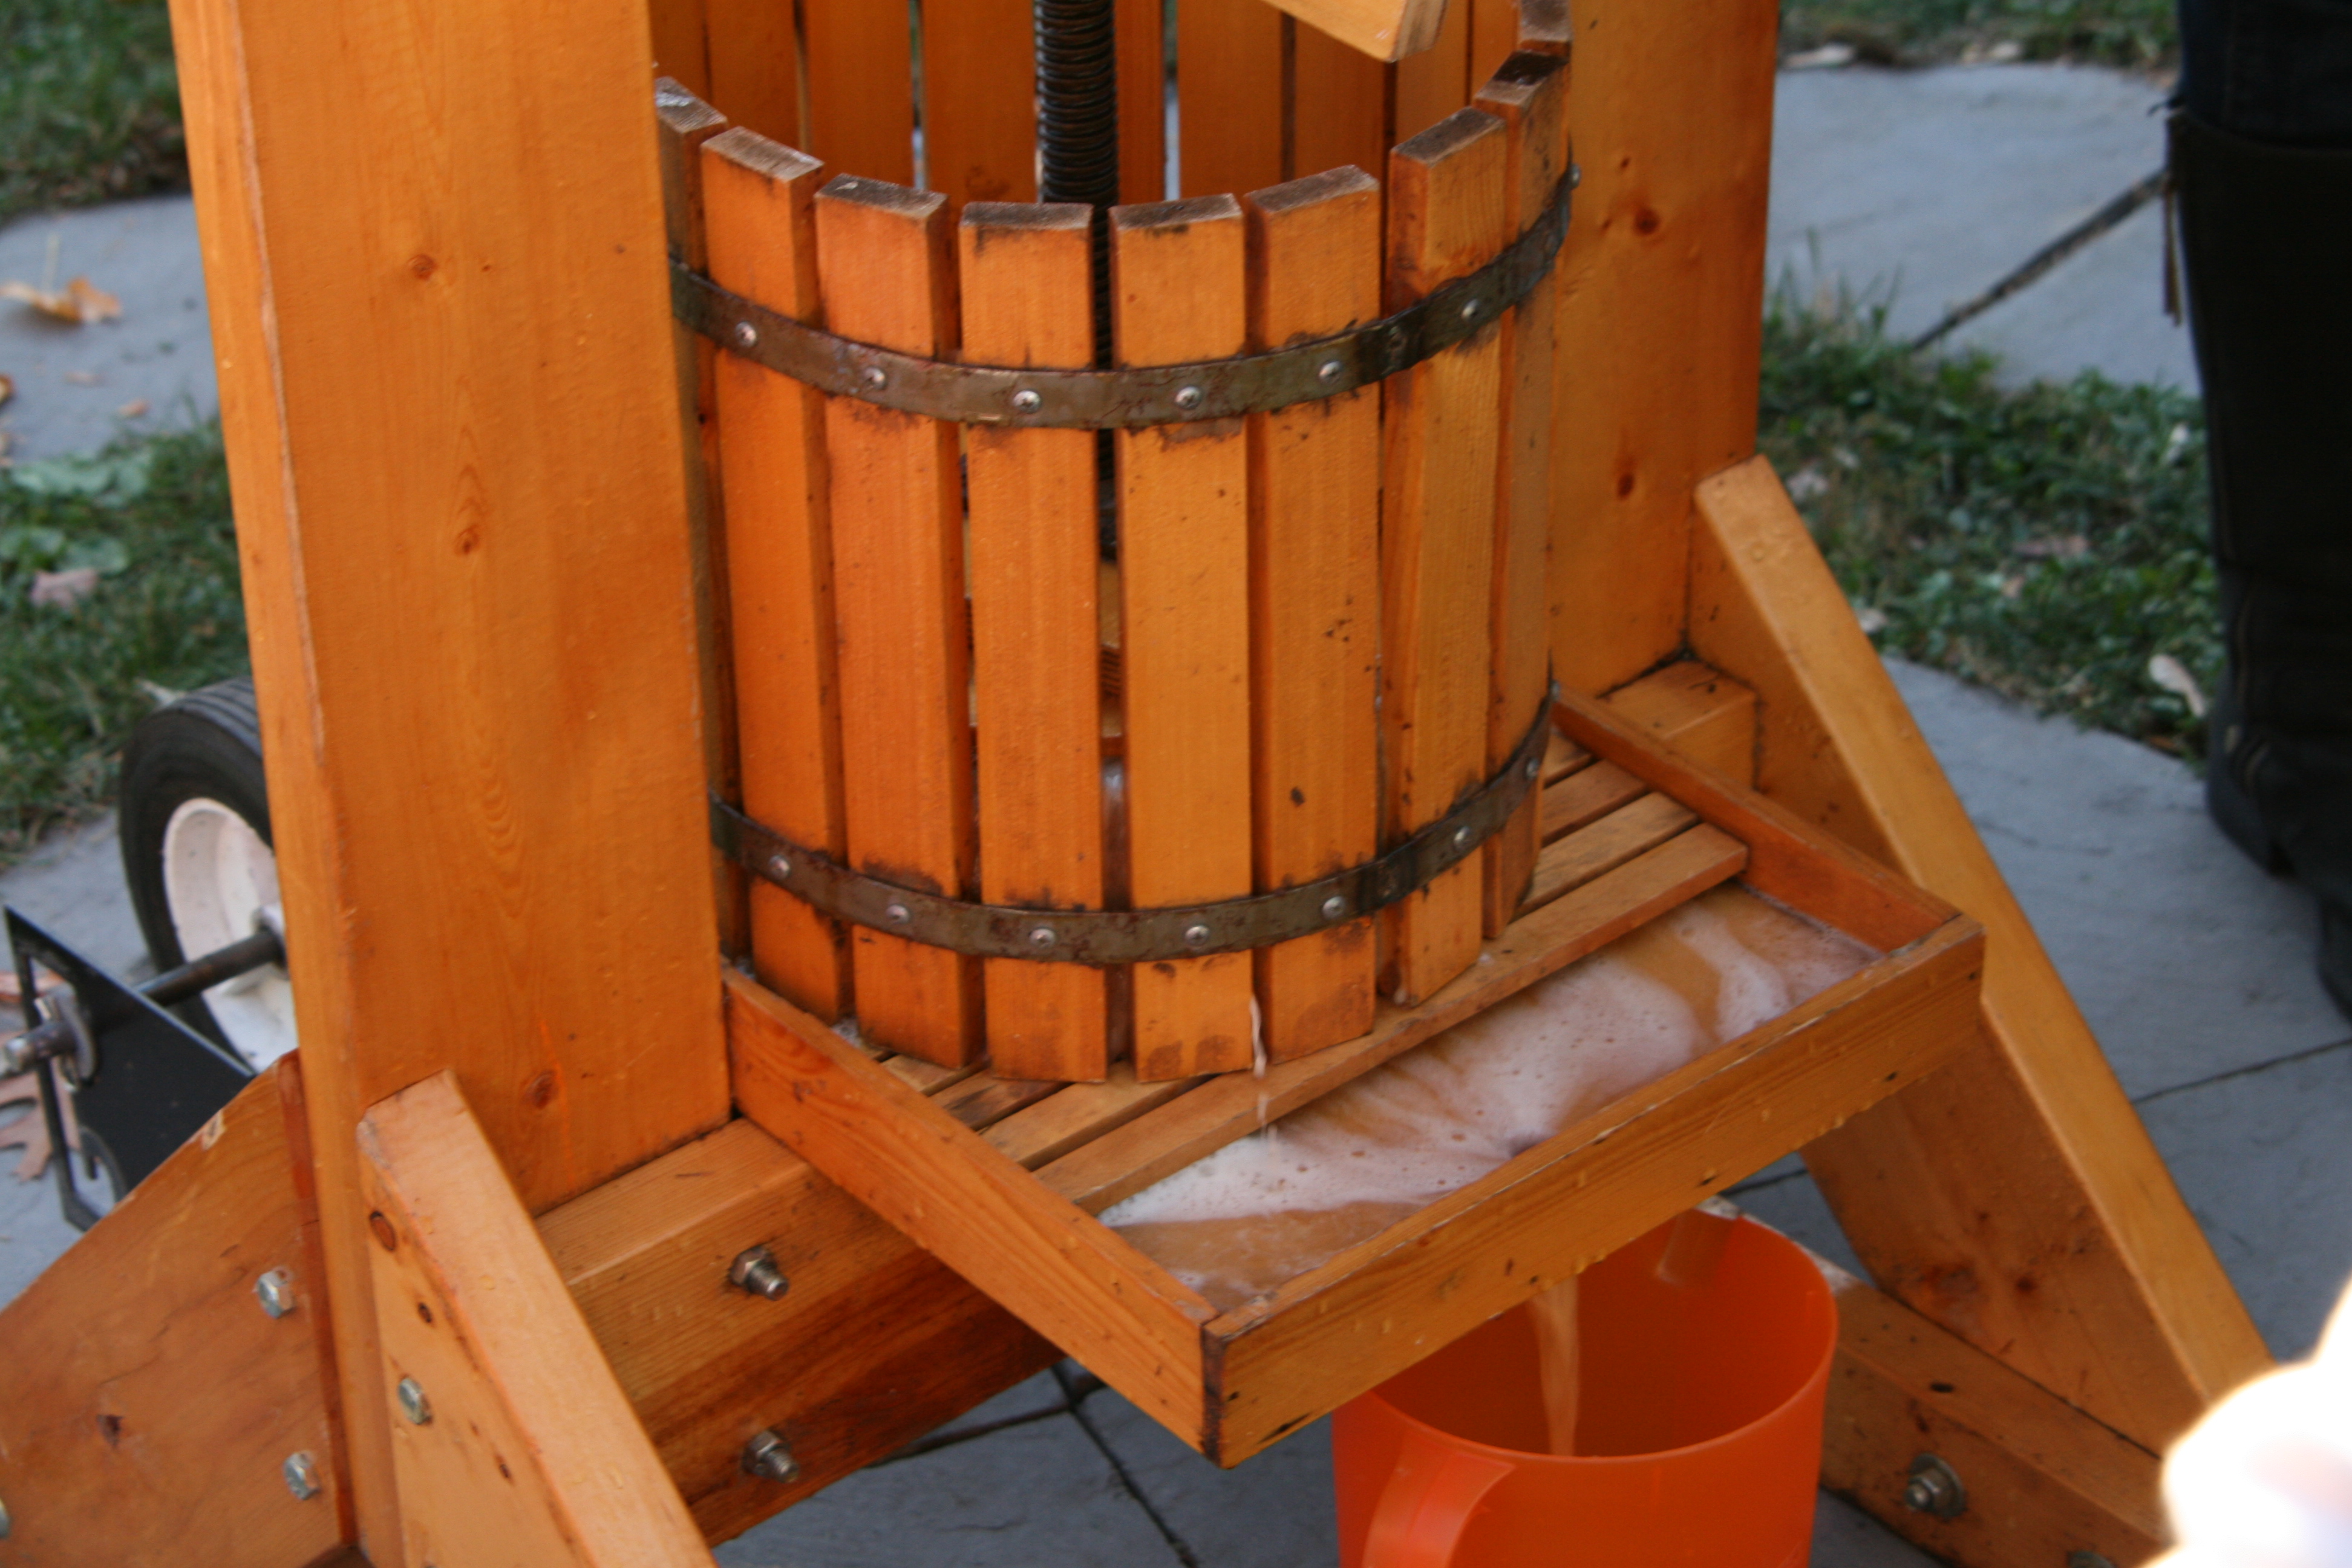
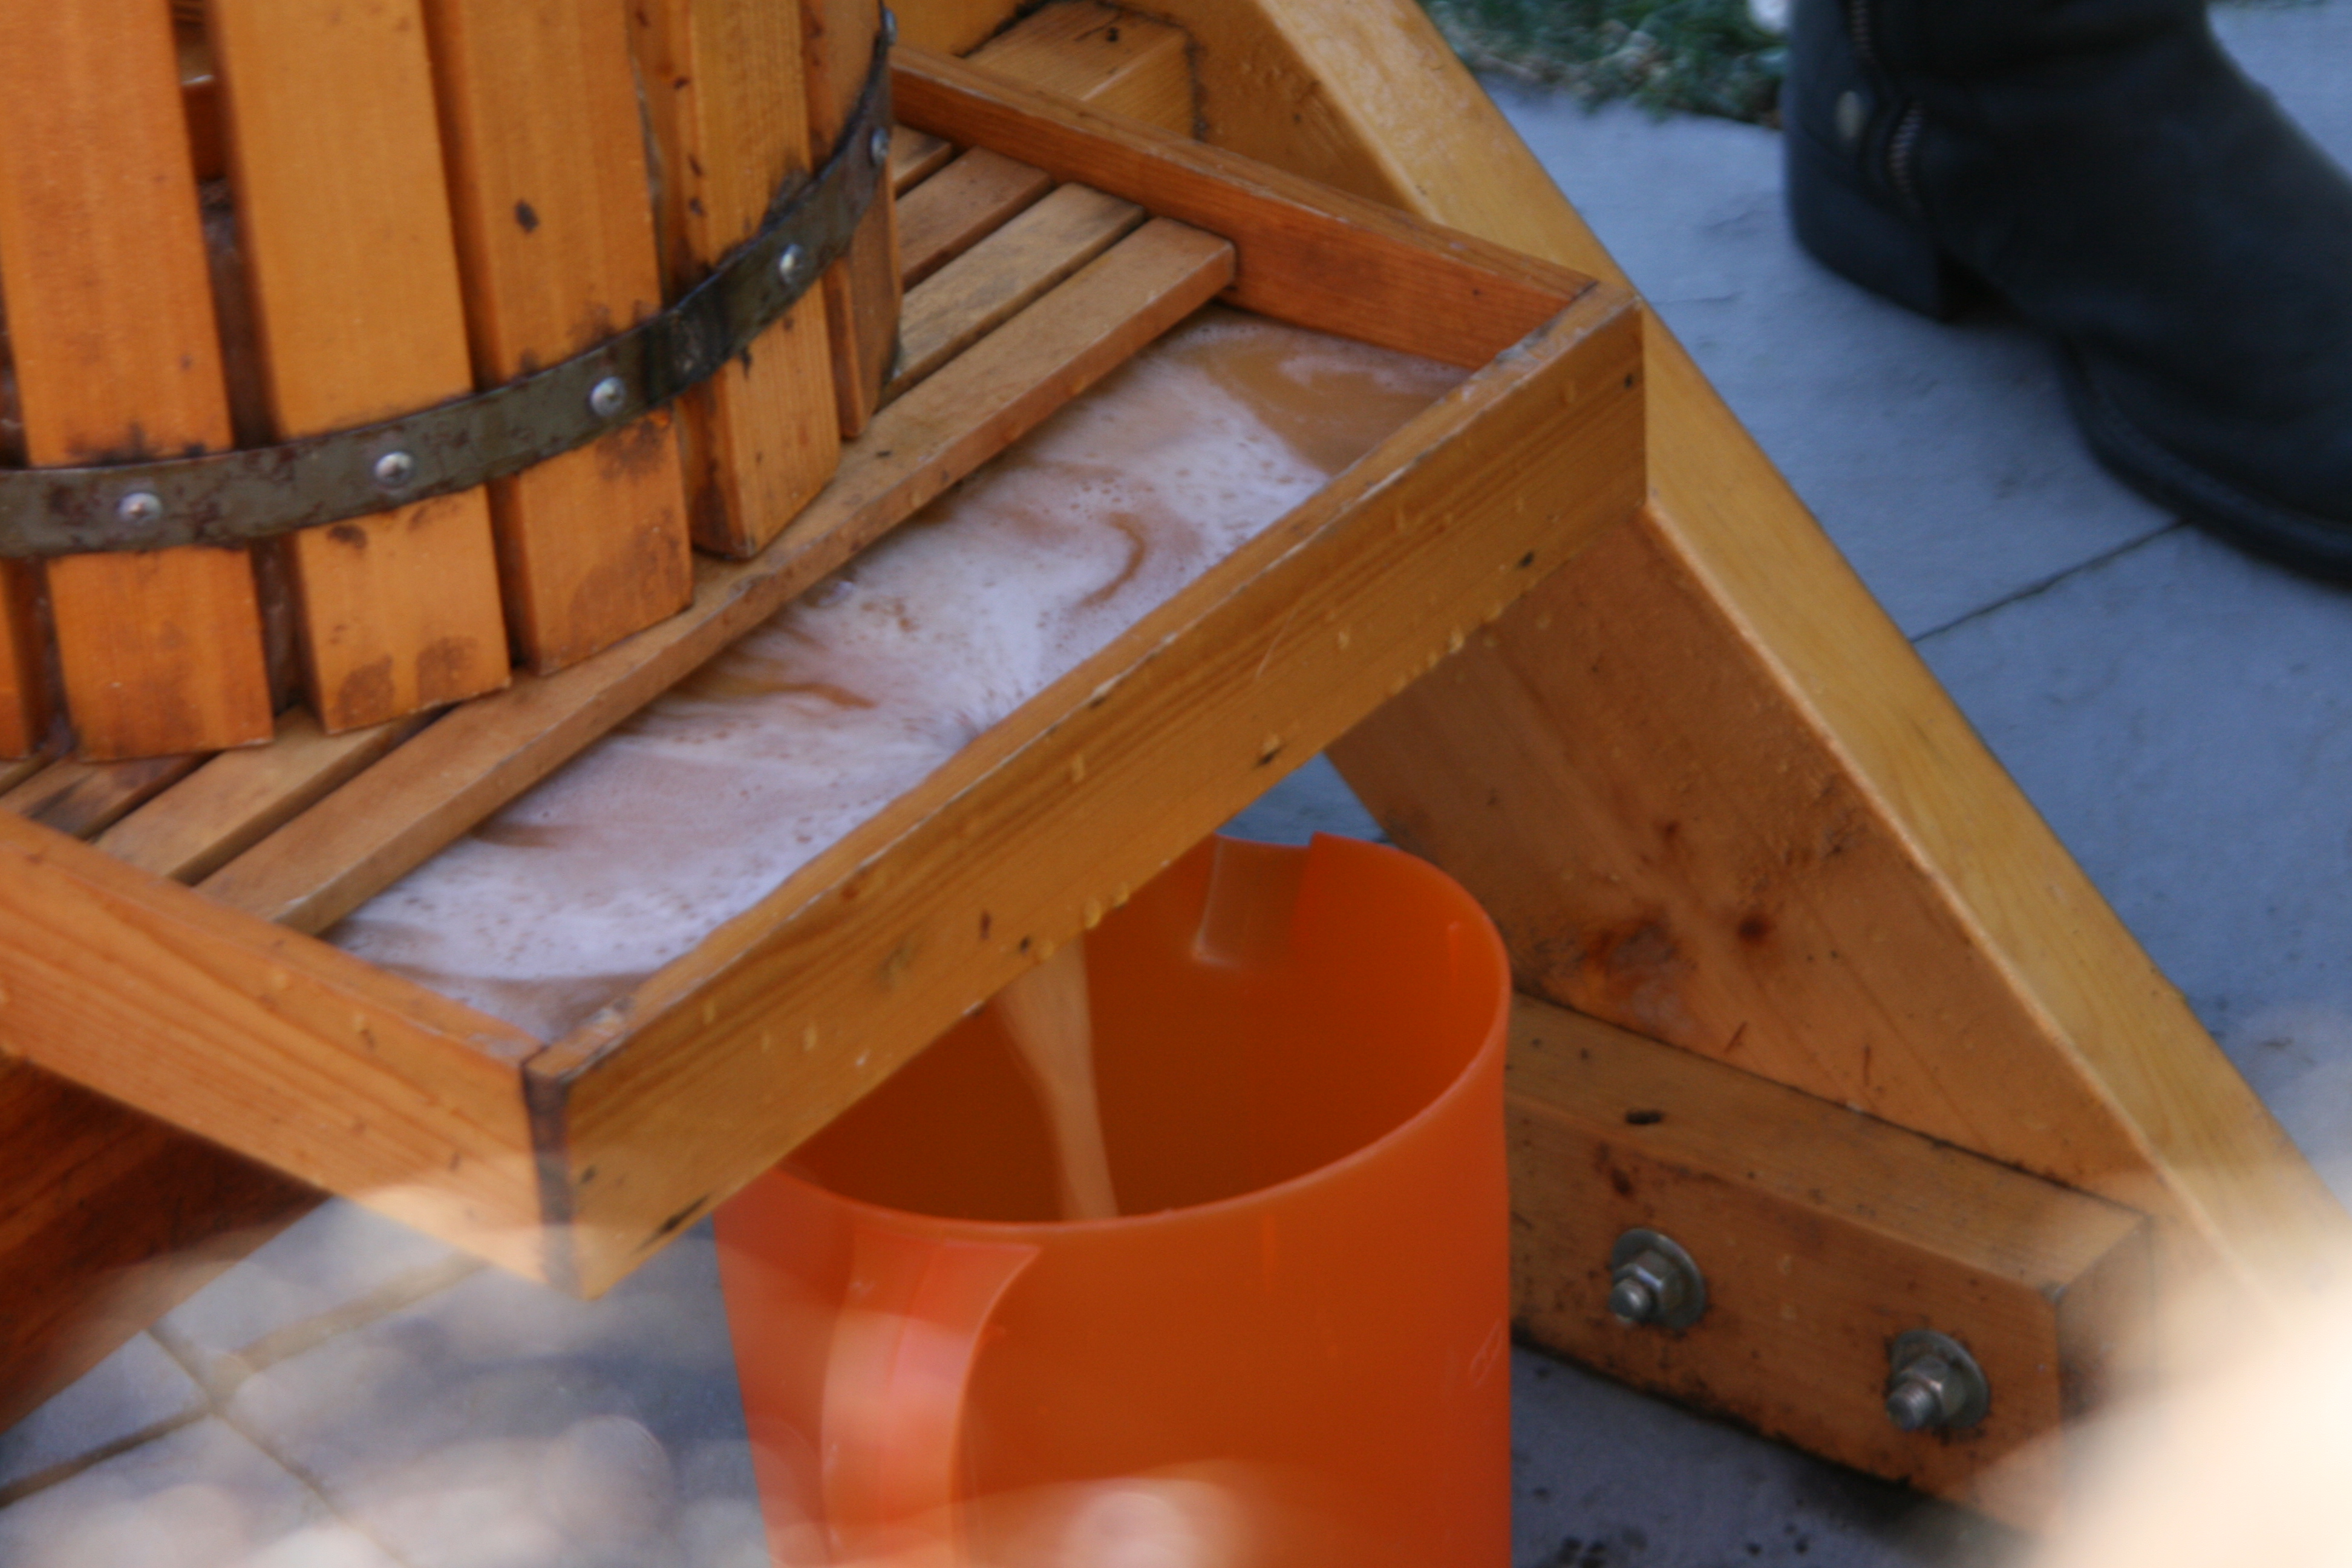
Next, we fold over the mesh bag and place the pressing disk on top of the bag. I am letting the kids feel the weight of the pressing disk. You can see in the last picture above that the juices have already started to come out, even though we haven’t started pressing the mash yet. The next step is my favorite. Once you do start the actual pressing process, the juice comes out surprisingly fast. It’s always a big crowd pleaser and sure to illicit at least a few ooh’s and ahh’s.

IMG_4861  IMG_4860

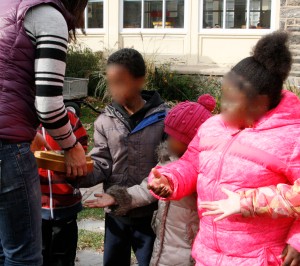
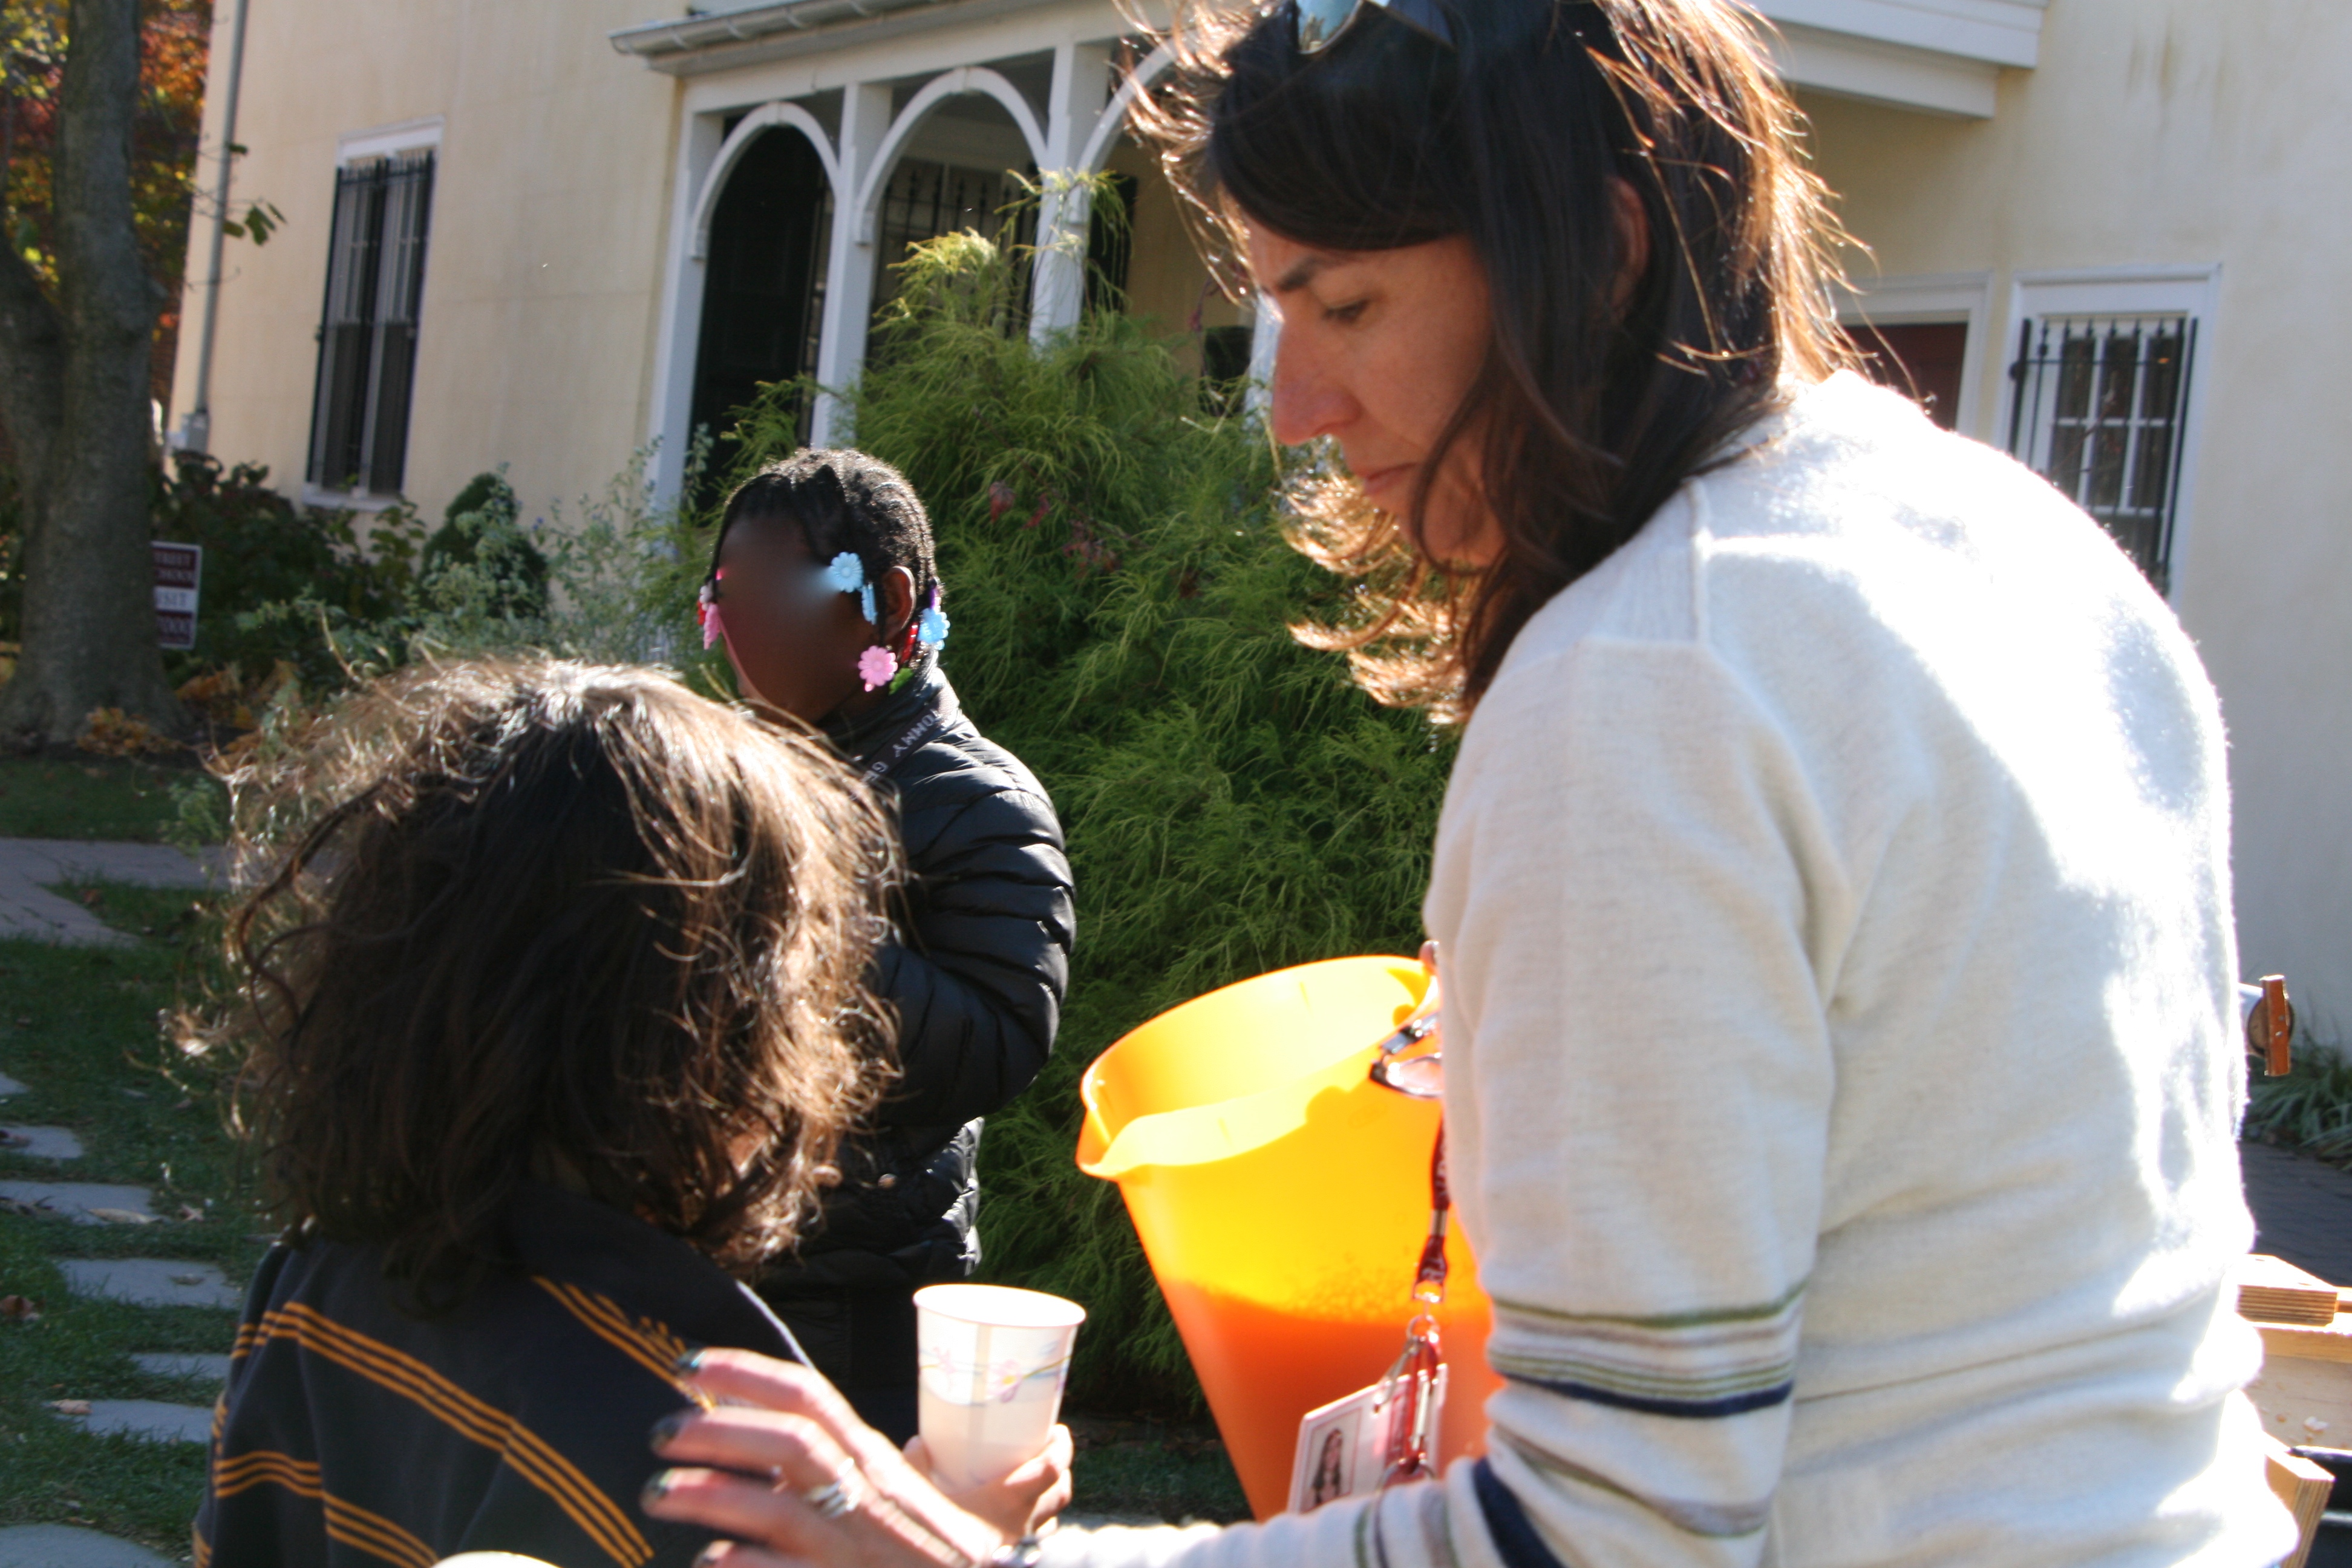
Next, and perhaps most importantly, comes the tasting!

IMG_4865 - Version 2  IMG_4873 - Version 2

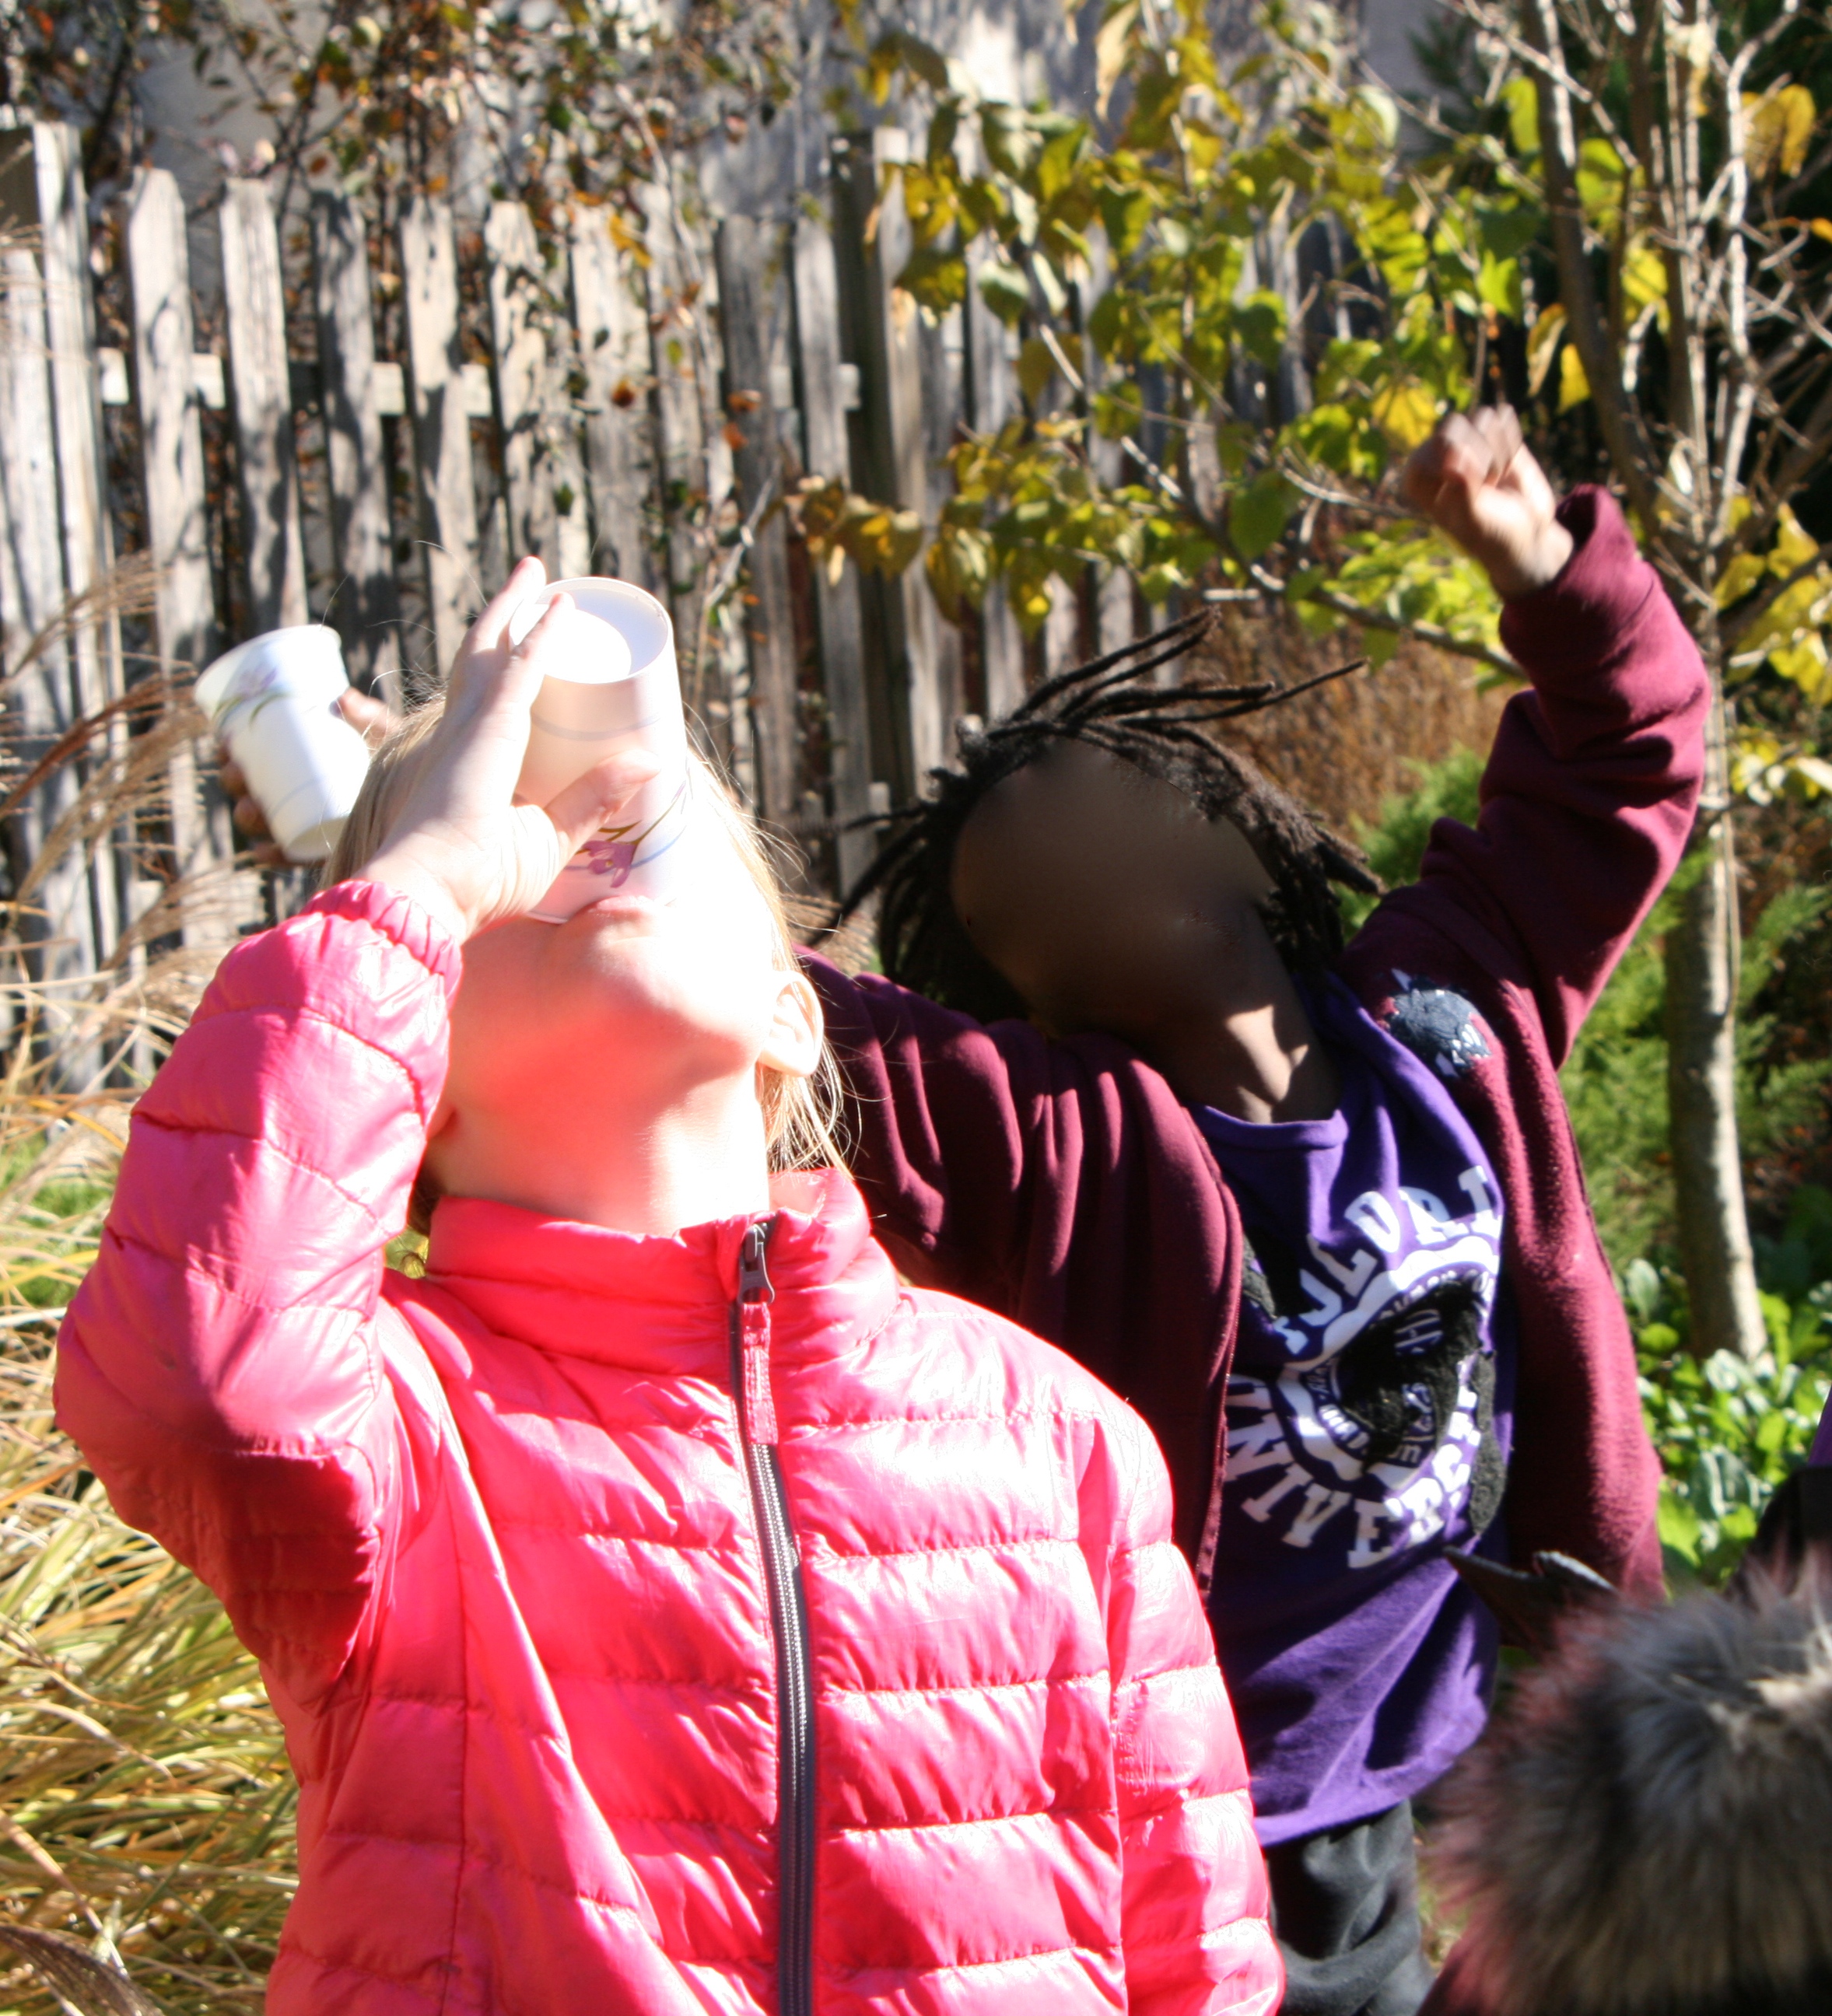
Notice one of my students doing his happy dance after tasting the cider. Woo Hoo!

At home we press as much as we can and freeze it to use all winter long. We do also give SOME out as gifts, but I confess, we are pretty stingy with it! Mostly, we enjoy looking for new ways to use it. I make a great apple cider cranberry sauce you can find here, and there are lots and lots of cider recipes on the web. I really want to try the brisket and oatmeal recipes I found here.

Have you ever cooked with apple cider?

I’ve got the music in me…

The other day I had to leave school in the middle of the morning to run to the store to buy supplies for a project with my students (see this post about cider pressing). I was  preoccupied as I was leaving because I had left my phone at home that morning, and my youngest had gone off to school having a hint of a cough where they sound sort of like a seal barking, and I was concerned about not wasting too much time off campus and…you get the picture. I got into the car, and as I turned it on, a song that I had never heard started to play on WXPN. The first few notes grabbed me, and I turned up the volume to hear what was next. A piano joined the guitar and I took a deep breath, felt my chest swell and I suddenly saw how brilliantly beautifully blue the sky was, I cracked the window to let in some of the crisp fall air and I became aware of the variety and multitude of hues still clinging to the trees in the very urban neighborhood where I both live and work. The words to this song are beautiful and catchy and sad, and I found myself, for lack of any better explanation, full of feeling, at the end of this song. I was touched by the lyrics and imagery, I was grateful for this song’s ability to sway me into being mindful and present, and I was pleasantly overwhelmed by the rush of emotion and life.

I love that about music…it really can be very powerful. It can mellow you out, help you study, put you to sleep, enhance your mood, make you sing, bring tears to your eyes, inspire you to you dance around your kitchen, make you think.

For the record, the song that I heard was Relatively Easy, by Jason Isbell, and I think I’ve  listened to it at least a few dozen times since I heard it last week. I also think I’m going to need to learn to play it on the guitar. Give a listen and check out the lyrics. What do you think?

He’s coming to Philly at the end of January. Who’s going?

Relatively Easy

Are you having a long day

Everyone you meet rubs you the wrong way

Dirty city streets smell like an ashtray

Morning bells are ringing in your ears

Is your brother on a church kick

Seems like just a different kind of dopesick

Better off to teach a dog a card trick

Than try to have a point and make it clear

You should know, compared to people on a global scale,

Our kind has had it relatively easy

And here with you there’s always something to look forward to

My angry heart beats relatively easy

I lost a good friend,

At Christmastime when folks go off the deep end

His woman took the kids and he took Klonopin

Enough to kill a man of twice his size

Not for me to understand

Remember him when he was still a proud man

A vandal’s smile, a baseball in his right hand

Nothing but the blue sky in his eyes

Still, compared to those a stones-throw away from you,

Our lives have both been relatively easy

Take a year and make a break there ain’t that much at stake

The answers could be relatively easy

Watch that lucky man walk to work again

He may not have a friend left in the world

See him walking home again to sleep alone

I step into a shop to buy a postcard for a girl

I broke the law, boys,

Shooting out the windows of my loft, boys

When they picked me up, I made a big noise

Everything to blame except my mind

I should say, I keep your picture with me every day

The evenings now are relatively easy

And here with you there’s always something to look forward to

My lonely heart beats relatively easy

What a long, strange trip it’s been…

One of the things I love about photography as an art form is the myriad of ways  that it can be tweaked or played with. You can use different types of film, you can tweak film – making your images more grainy or overexposed, or you can manipulate the film as you develop it or print it.

I am a huge fan of long exposure photography. This allows small amounts of light in for a  longer period of time than normal, giving images an ethereal quality. A tripod is usually employed.

Here are two photos by photographer Mohamed Rias from this post. I love the smoky/cloudy feel of the water in these pictures, contrasted with the clarity of the rest of the scene.

.download images


Photos involving water, clouds, light and/or movement are good candidates for this type of photography.

This post had a few more example, and some tips on how to get starting taking long exposure photos.

I’m going to do some research, and try a few of these on my own.  I will keep you posted  on how it all turns out!

Somewhere Over the Rainbow

Forgive my unschooled attempts at food blogging…

It was my very dear friend Jeff’s birthday this past weekend. Jeff is a big Grateful Dead fan, so I thought it would be the perfect opportunity to try out the tie-dye cake I found on Pinterest not too long ago.

I started out with two boxes of Betty Crocker white cake mix and made as directed. (I normally like to make things from scratch, but I got the  idea to do this with only 2 hours to spare. Sometimes we gotta do what we gotta do). I separated out the batter into six different bowls and made each one a different color. It was advised to use gel color as they tend to be more vibrant than the liquid drops that you get in the grocery store. I wish I had taken a picture of all of the colors in their separate bowls, but I think I got the idea to blog about it after we had already poured the batter into the pans. Which brings me to the next step – the pouring of the batter.

The instructions that I found said to split the batter between the two pans, then pour another color on top. I thought it would look cooler (groovier?) if I made more layers, so we just started randomly pouring a little bit of colored batter, then pouring the next color right in the middle of the last one, letting it spread out naturally throughout the process.

IMG_3496

Aren’t the colors vibrant? I think the gel color made all the difference. Next I took a toothpick and drug it though the center to make a star pattern. Not too much though, so I wouldn’t muddy the colors.

IMG_3498

The cake looked really awesome straight from the oven. We let them cool, then I wanted to put on a crumb coat of icing. The crumb coat is basically a bit of watered down frosting. You do this so the cake won’t crumble into your final layer of icing. I actually generally don’t like icing, but I found a recipe for Sturdy Whipped Cream Frosting, which is basically cream cheese, heavy cream and sugar, and who doesn’t like that?

Again, I only thought to take the picture once I had started the crumb coat already. Sigh.

IMG_3503

This was once the cake was covered with the crumb coat.

IMG_3502

I layered the cakes and covered the whole thing with the whipped cream icing. To make the swirl pattern on top I put one drop of liquid food coloring of each color that I had in a circle on the top of the cake. I then took a fork and swirled the color through the icing. Again, not too much so the colors wouldn’t get muddied.

IMG_3505

You won’t believe this, but when we got to my friends house, it turns out that his sister-in-law had the same idea! Great minds think alike! And…no way, seriously?

IMG_3506

Two tie-dye cakes! We still cut into my cake so we could see the inside…

IMG_3507

…and it went pretty quickly. Even though we weren’t the first to think of it, I still think it came out great! My kids were impressed and asked if we could make it again. Now if only they would ask that about the Indian food I make…

Peace out.